You can install Redshift in Houdini if you have bought Maxon One subscription. First find your Redshift folder. It should be in:
C:\ProgramData\redshift\
Then open houdini.env, in Windows you will find it your documents folder
C:\Users\Your_name\Documents\houdini19.5.
I use Sublime Text Editor. Add these lines to your houdini.env file, at the end of it. Change (YOUR_HOUDINI_VERSION) with the latest version of redshift you find in C:\ProgramData\redshift\Plugins\Houdini\19.5.435.
If it doesn’t work and if you can’t see Redshift on the shelf when you launch Houdini, try to retype all the paths and not copy and paste them. It happened to me and this fixed the problem.
Nicola Gastaldi is a London-based motion designer and animation director who has a pretty impressive creative background. Currently working at Google Creative Lab, Gastladi is also a director at Unit9, a lecturer at UAL and a mentor at Created Academy. With over fifteen years of experience in his field, he’s collaborated with Ogilvy, Jack Morton, Universal Everything, Smoke & Mirrors and more. His work has also garnered attention over all over the web, proven by two Vimeo Staff Picks and an Excellence Award by Gif Magazine, exhibitions at London’s Design Museum, and projects that won various awards worldwide.
But while his professional work delves into more technical aspects, the artist still puts in the time to create personal projects. His series Monsters and their Buddies is an endearing collection of GIFs featuring colourful shape-shifting monsters who, despite their sinister title, bring a smile to our faces rather than strike fear into our hearts. The simplicity of his blocky illustrations paired with the old-school GIF repetitiveness we all love is like a visual stress ball · these kawaii monsters definitely get our thumbs up. Also along the lines of personal projects, visit his Instagram account, @gastaloop, where he posts 100 gifs in 100 days. Fun!
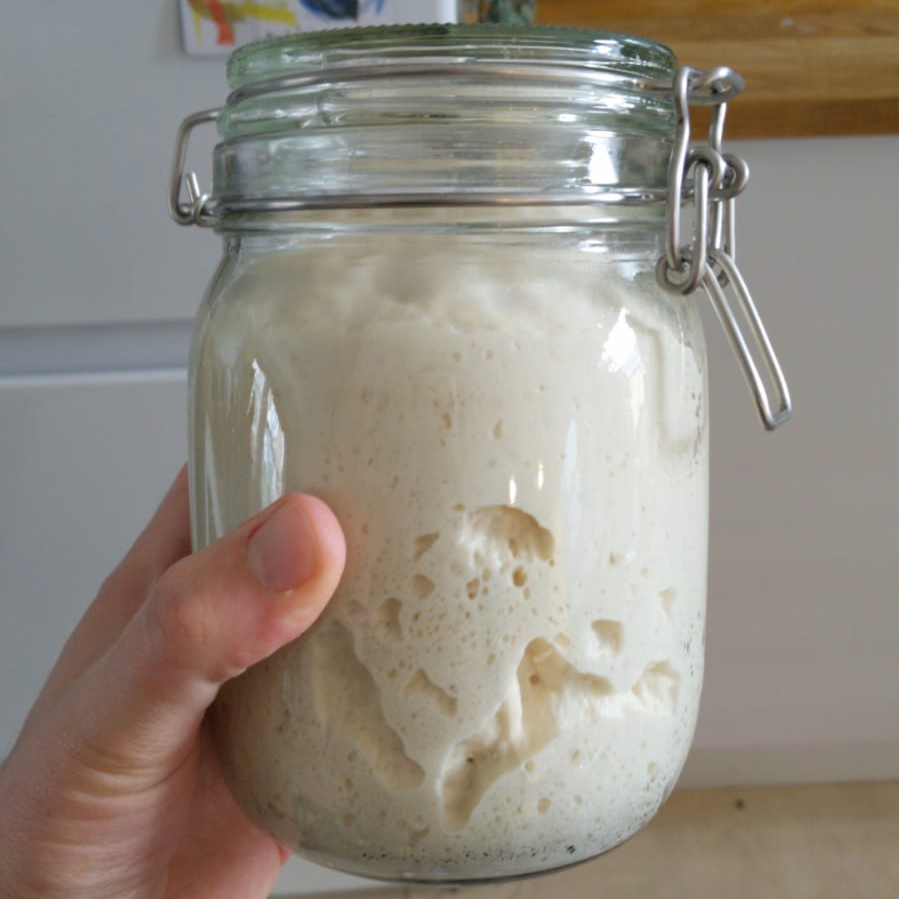
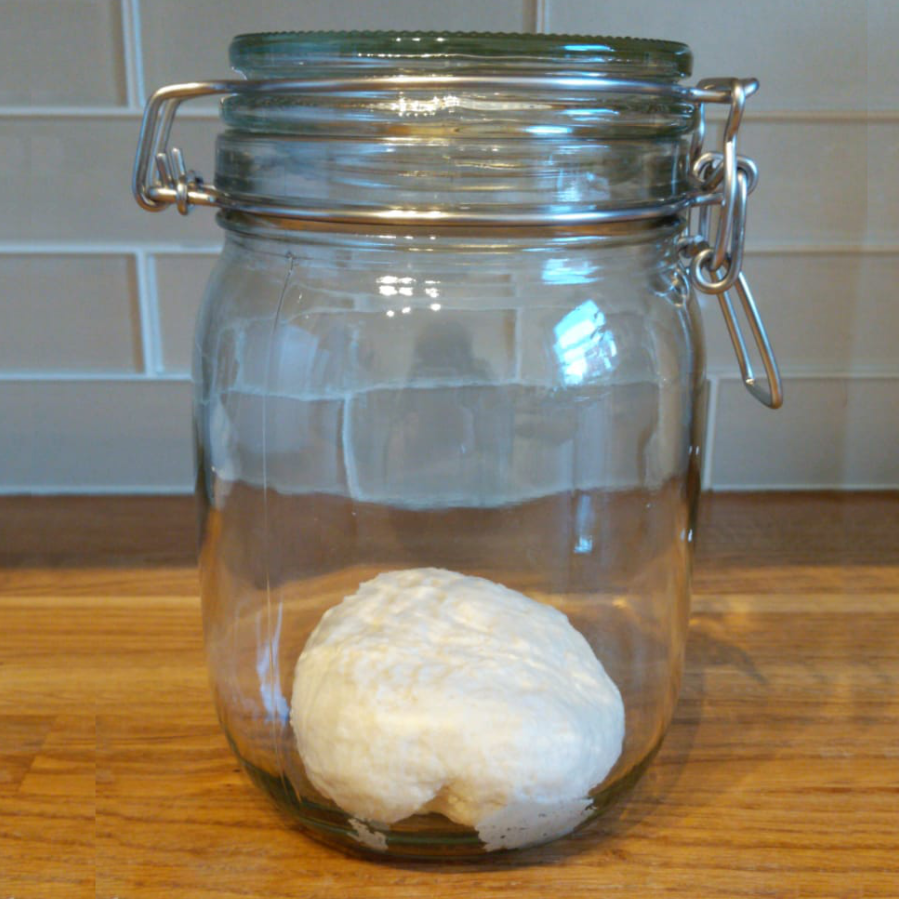
Questo è la base di tutto, non tornerai mai al lievito chimico! Ma come funziona? Lascia dell’uvetta in acqua tiepida per un’ora: filtrala e mischia 100g dell’acqua di macerazione con 100g di farina e metti da parte in un recipiente coperto da un panno. Il giorno dopo inizia a nutrire il lievito con i cosiddetti “rinfreschi”.
Tieni 50g di lievito, aggiungi 50g di farina e 25g di acqua. Impasta con un cucchiaino e a mano e ripeti. Fallo per un mese. Vedrai che il lievito comincia a fare le bolle!
Pronti? Via! Il metodo di rinfresco è sempre lo stesso:
X di lievito madre + X di farina + X/2 di acqua.
Per esempio se hai 50g di lievito madre, devi aggiungere 50g di farina e 25g di acqua. Se non panifichi, puoi rinfrescarlo ogni settimana anche ogni due, ma se hai in programma di impastare rinfrescalo un paio di volte il giorno prima. Conserva il lievito in frigorifero dentro un barattolo. Quando vuoi impastare il pane lascialo a temperatura ambiente per qualche ora prima di usarlo.
Se rinfreschi tanto, avrai un sacco di esubero.
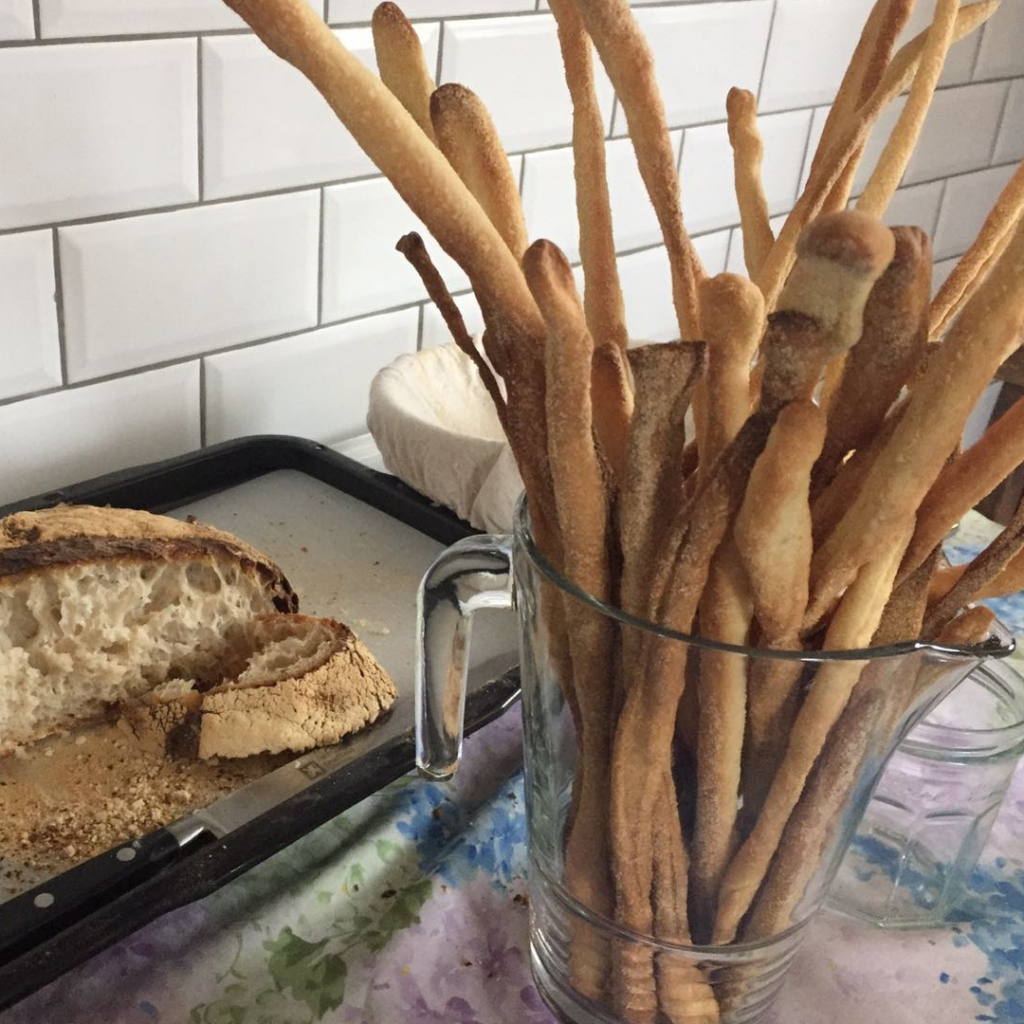
Se devi rinfrescare il lievito invece di buttarne via un po’, tienilo da parte. Ci sono tantissimi ricette, basta che cerchi “ricetta esubero lievito madre”. Come i taralli o le piadine.
300g di farina bianca forte (con 13g di proteine o più)
240g di acqua tiepida (se hai un termometro, 26°)
100g di lievito madre (idratazione 50%, a temperatura ambiente)
8g sale
1 cucchiaino di malto liquido o miele
Prepara gli ingredienti
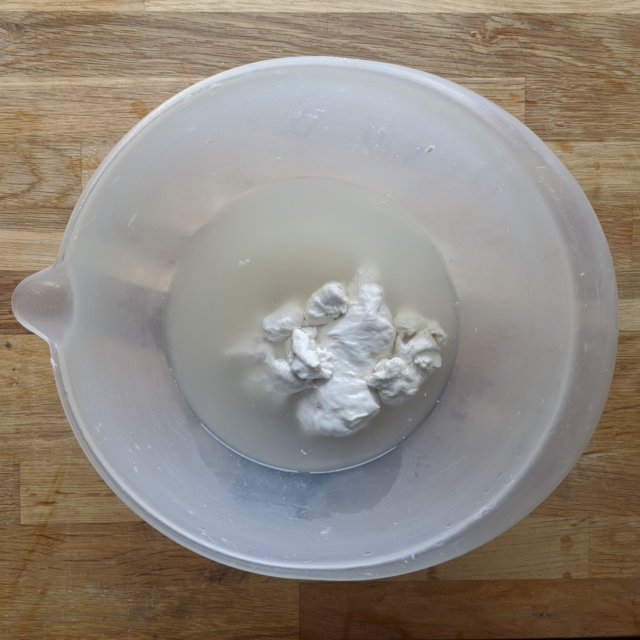
Sciogli grossolanamente il lievito madre nell’acqua e malto/miele: io spezzetto il lievito a mano e lo strizzo tra le dita.
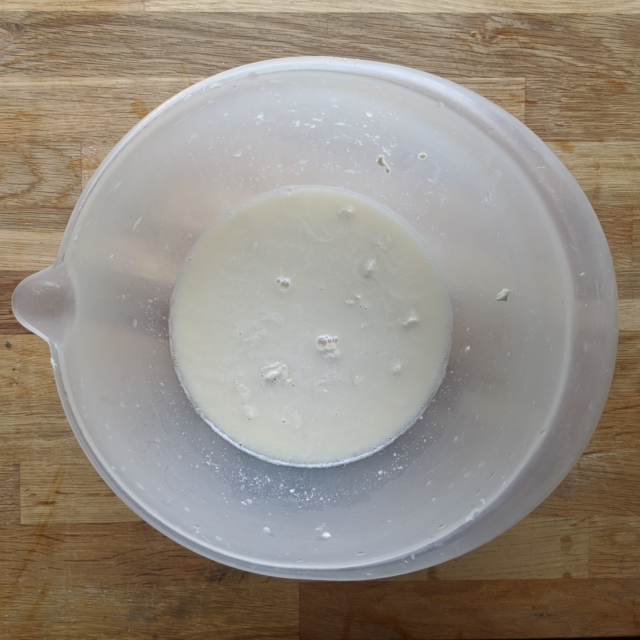
Sciogli il lievito nell’acqua girandolo con un cucchiaio.
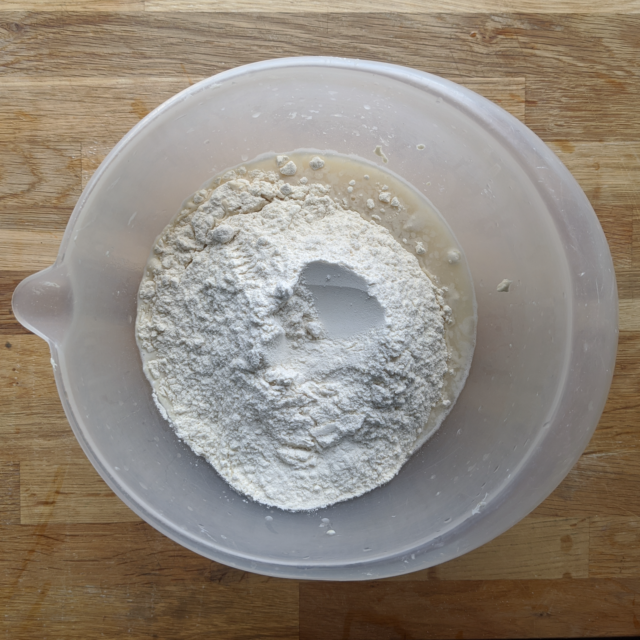
Aggiungi la farina. Se hai un setaccio o uno scolapasta a rete fine, setaccia la farina.
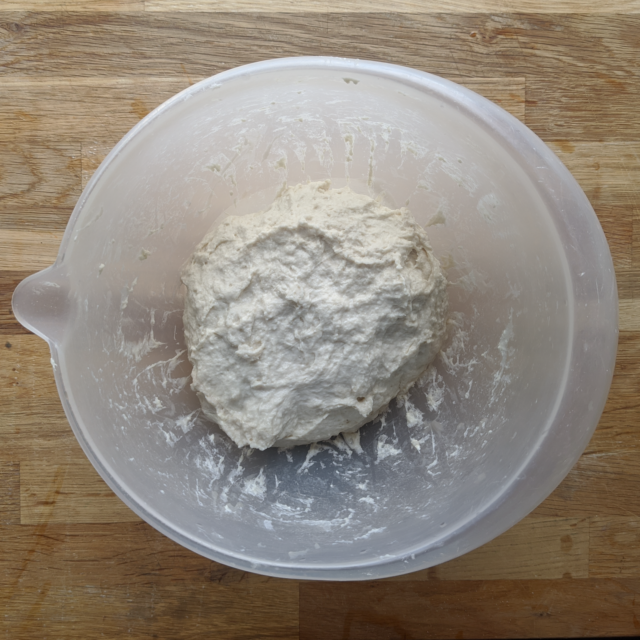
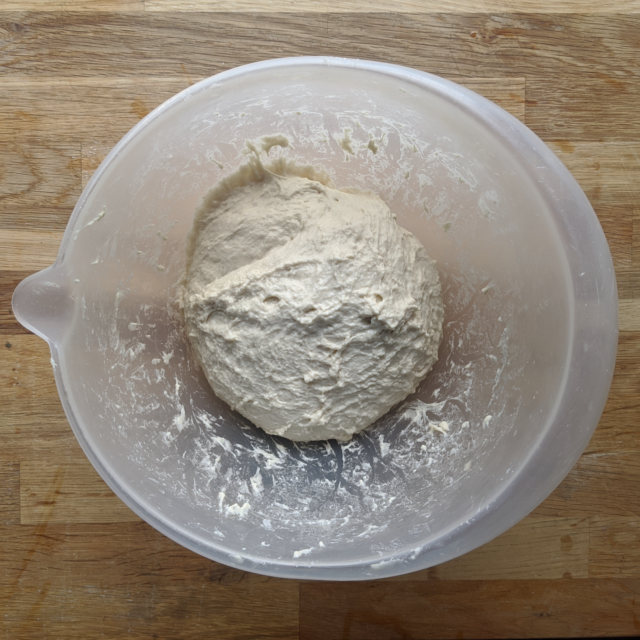
Mischia bene la farina finchè non si è amalgamata e ha assorbito l’acqua. Non ci devono essere grumi.
Copri.
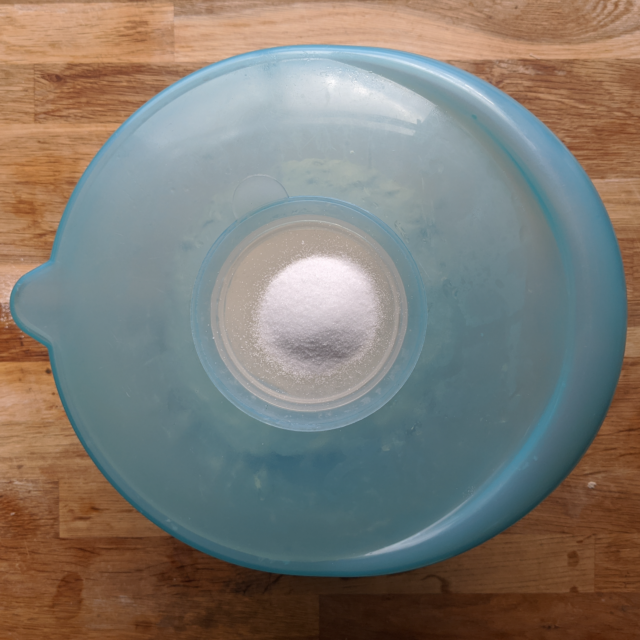
Aspetta 20 / 40 minuti. Questo è un passaggio cruciale che non bisogna tralasciare. Si chiama autolisi! Sul coperchio ci metto il sale, perchè se no me lo dimentico sempre!
Dopo l’autolisi si iniziano le pieghe. Aggiungi il sale che hai lasciato sul coperchio. Bisogna fare una piega una ogni 30 minuti, per 6 volte (in totale 3 ore!).
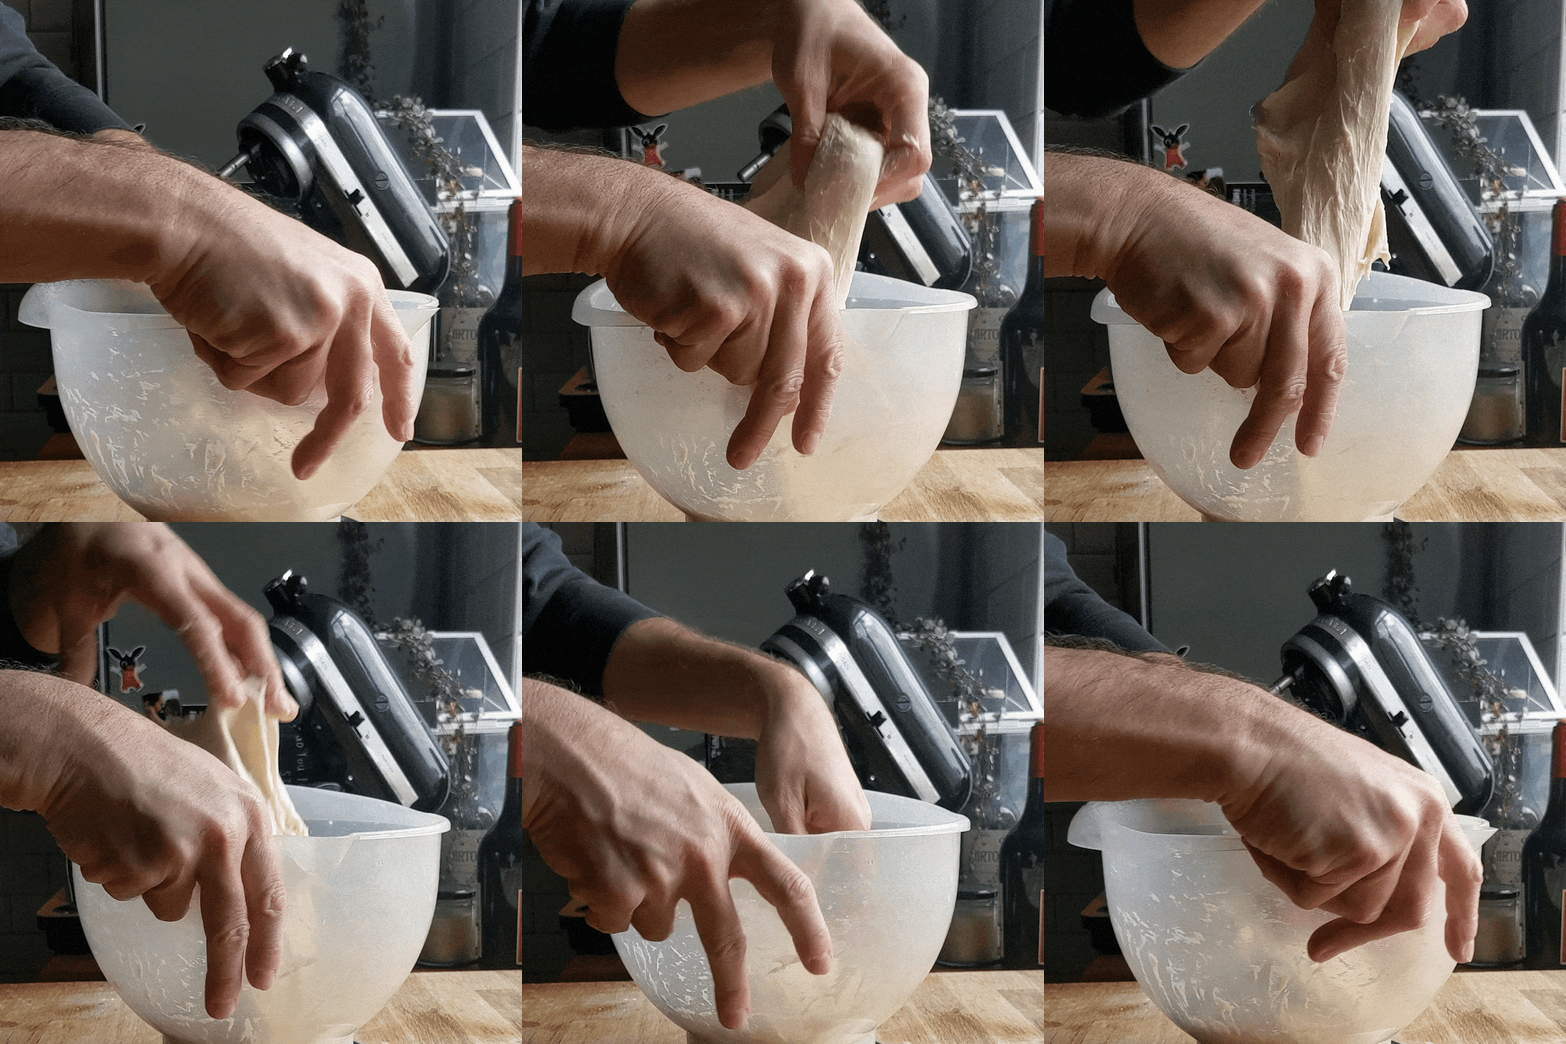
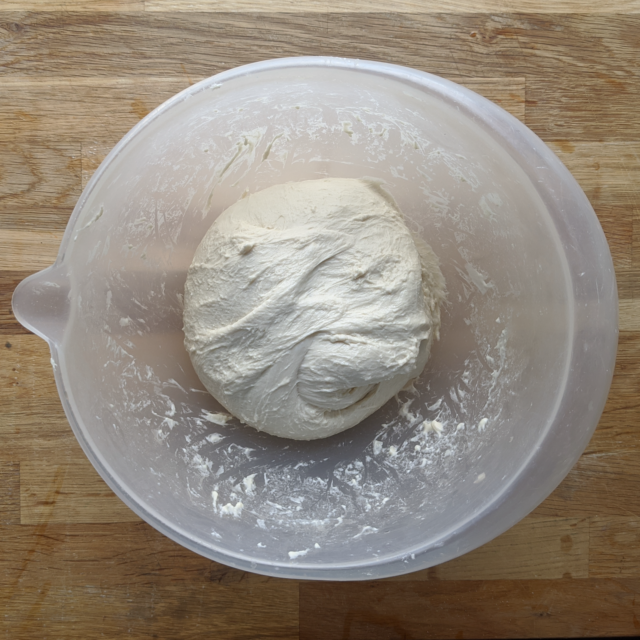
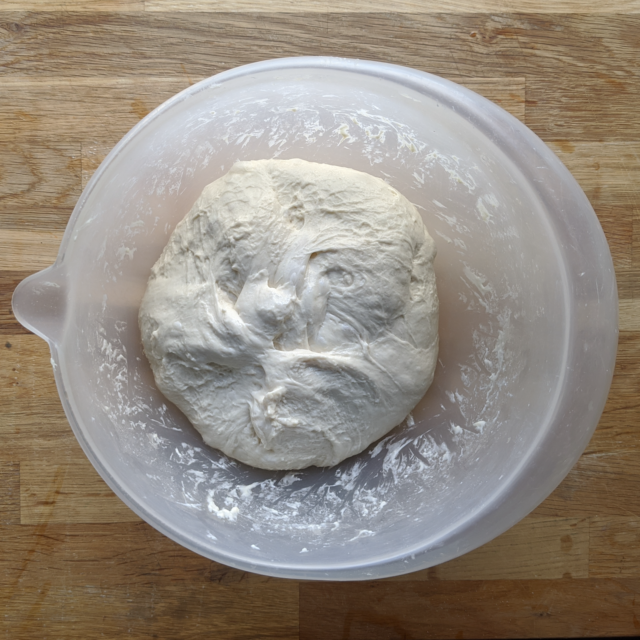
Di solito faccio le pieghe in ciotola. Prendo con una mano l’impasto, lo tiro e lo piego su se stesso. Poi giro la ciotola e ripeto finché sento l’impasto consistente.
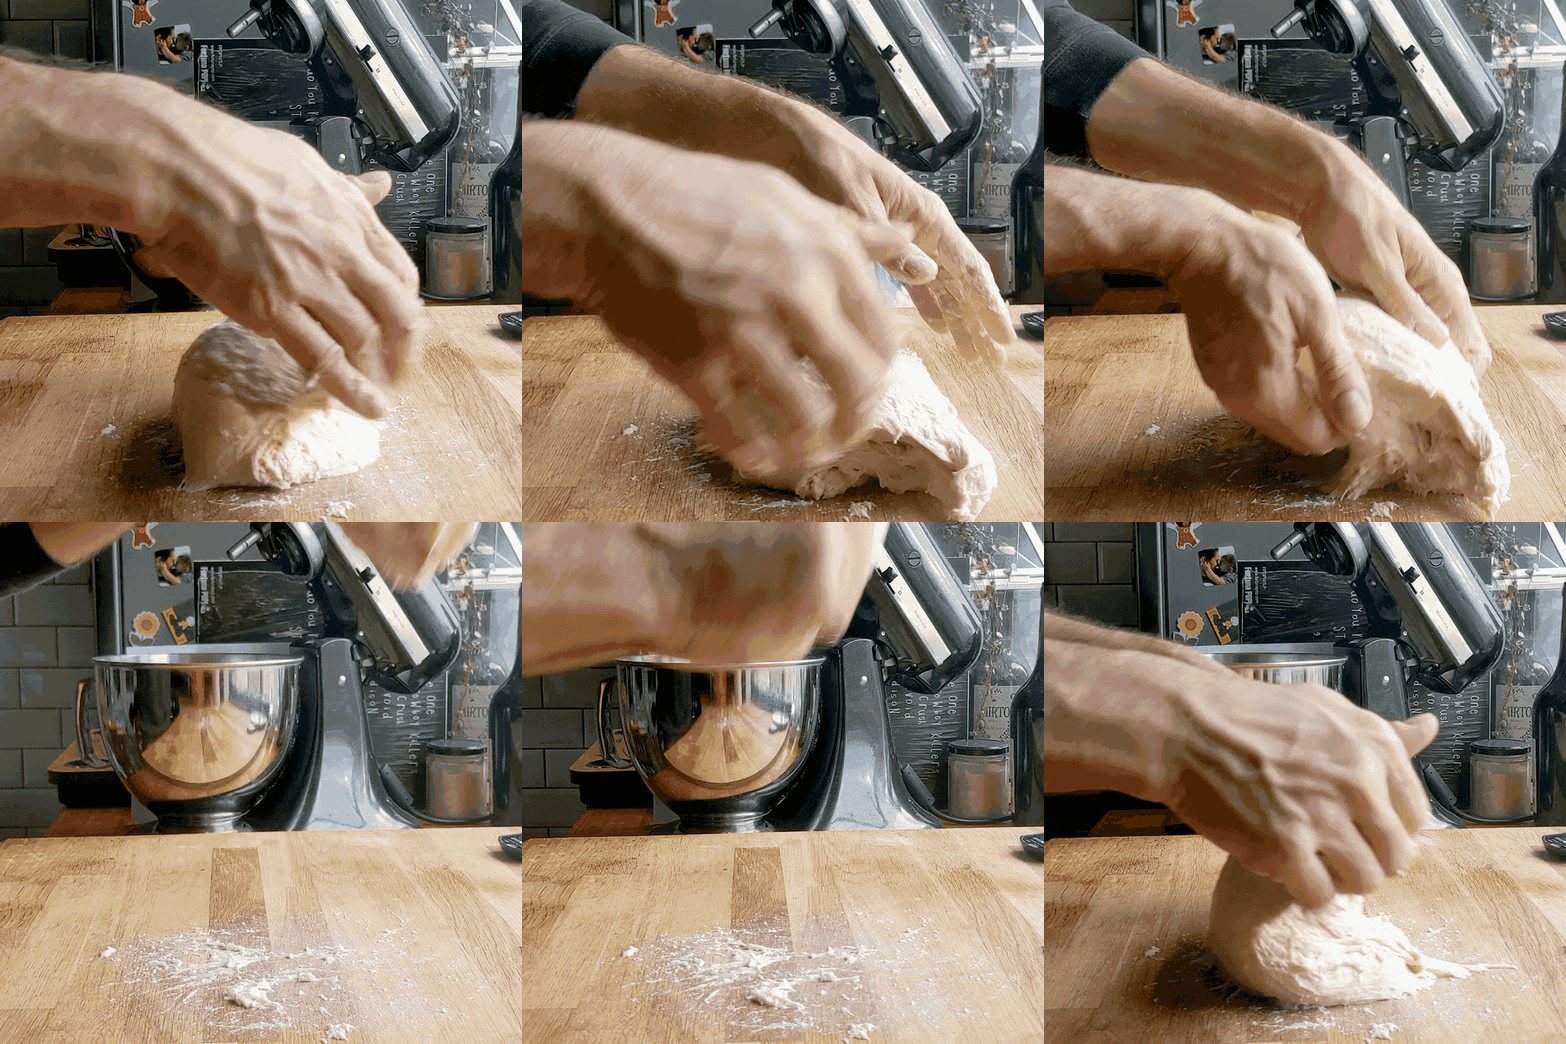
Se l’impasto è molto appiccicoso, faccio questa tecnica che si chiama slap & fold. Prendi l’impasto con le mani girate di 90 gradi (quindi in basso e in alto), lo tiri orizzontalmente e lo sbatti sul tavolo da lavoro al contrario, per poi piegarlo su se stesso. Ci ho messo un po’ a capire come si faceva, ma è molto rilassante.
Quindi ogni 30 minuti, per 6 volte devi fare almeno 4 pieghe all’impasto. Falle in ciotola! Vedrai che l’impasto, col passare del tempo diventa sempre più liscio e soffice.
Bisogna stare attenti a rispettare le bolle che si sono fatte nell’impasto, così da non farlo sgonfiare, facendo sempre le pieghe.
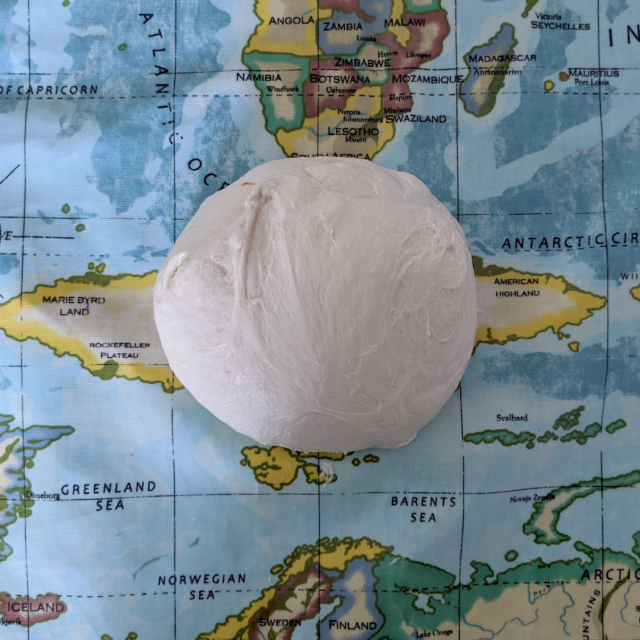
Dopo l’ultima piega, metti un pochino di farina su un tavolo da lavoro (non di legno possibilmente). Sposta l’impasto sul tavolo da lavoro. Fai 4 pieghe a fazzoletto (dal basso in alto, da destra a sinistra, dall’alto in basso, da sinistra a destra) e gira l’impasto, così che rimanga bello sodo. Lascialo riposare 30 minuti.
Se l’impasto si è rilassato troppo, dai altre 4 pieghe a fazzoletto e fagli una sorta di pirlatura, cioè tira l’impasto sul tavolo, così da fargli creare tensione.
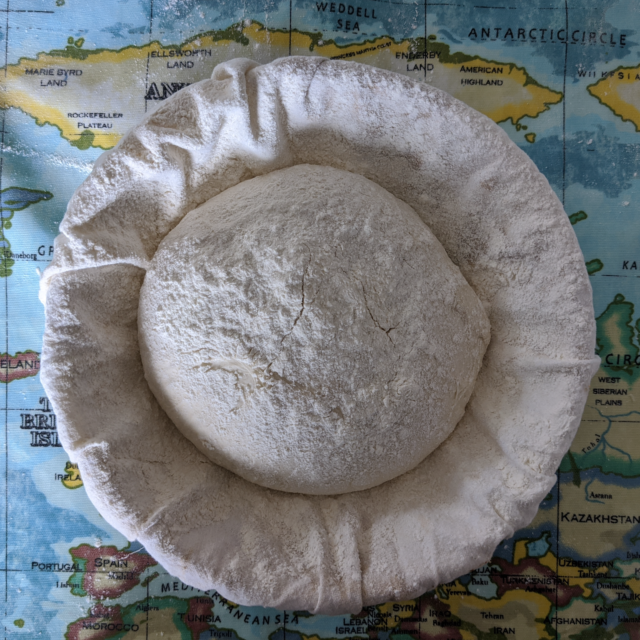
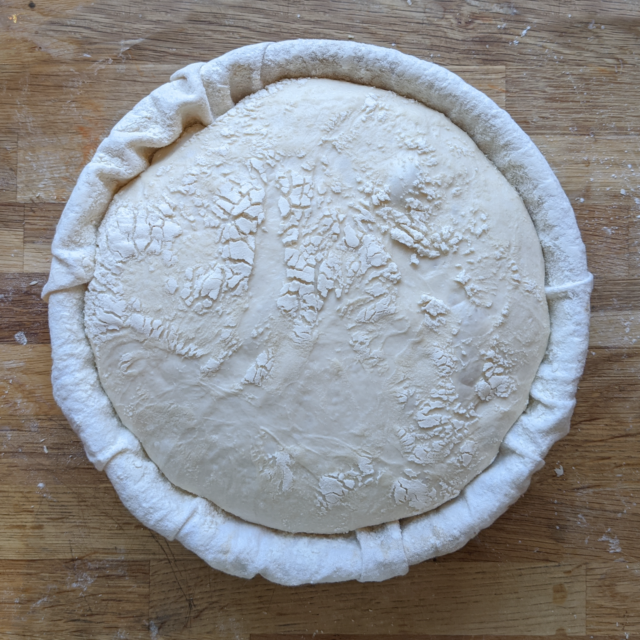
Prepara un cestino di lievitazione (se non ce l’hai, metti un canovaccio pulito in uno scolapasta). Bada di infarinare assai bene per evitare che l’impasto si appiccichi. Gira l’impasto, cosicché la parte liscia sia a testa in giù.
Lascia riposare per 3 o 4 ore.
L’impasto dopo 4 ore dovrebbe essere raddoppiato.
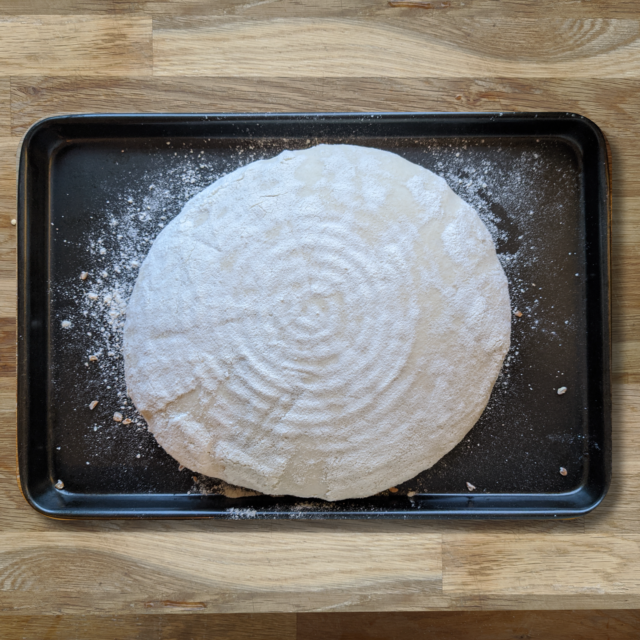
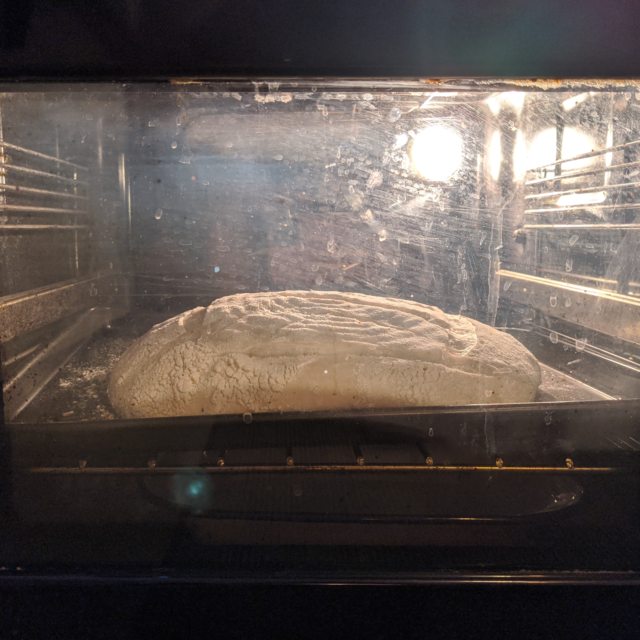
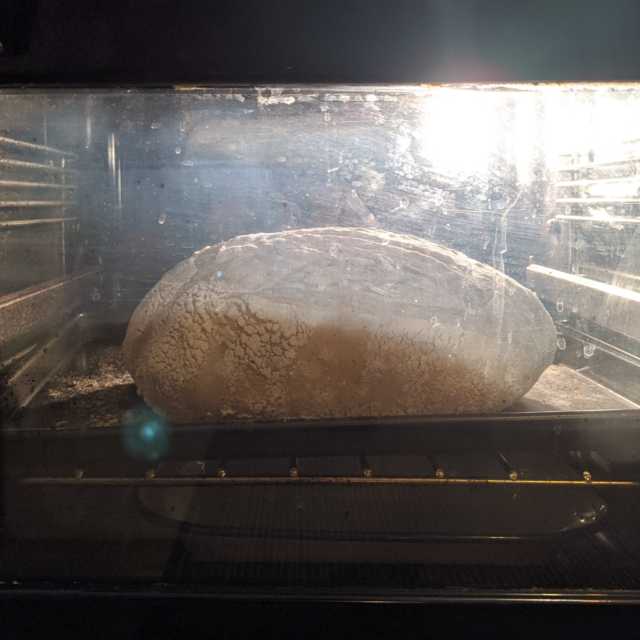
Scalda il forno a 240 e metti un pentolino di acqua dentro. Prepara una teglia con un po’ di farina di semola sopra o carta forno. Ribalta a testa in giù l’impasto.
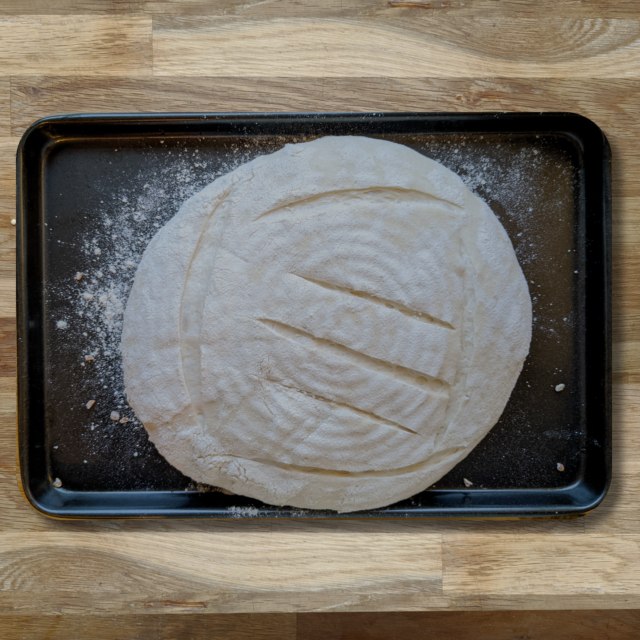
Taglia l’impasto con una lametta o un coltello molto affilato.
Inforna.
Abbassa il forno a 220/200 con pentolino, cuoci per 20 minuti. Forno statico.
Togli il pentolino, aspetta altri 20 minuti. Forno statico, a 200.
Per dare un bel colore alla crosta, fai gli ultimi 5 minuti a 200 con il forno ventilato.
Conta che ogni forno è diverso, dovrai adattare questo passaggio. Io faccio ancora fatica.
Non preoccuparti se l’impasto si rilassa troppo quando lo inforni. Poi si tira sù e sembra una magia.
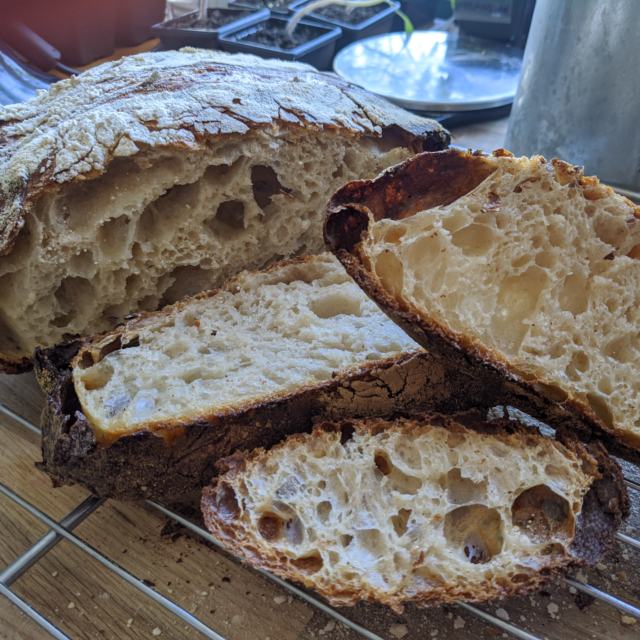
Quando è pronto, fai raffreddare bene su una griglia. Aspetta un’ora prima di mangiare!
Questa ricetta è molto lunga ma basta organizzarsi
Impastare il pane di giorno per mangiarlo a cena
8:00 – Inizia con gli ingredienti e autolisi
8:30 – 1a piega
9:00 – 2a piega
9:30 – 3a piega
10:00 – 4a piega
10:30 – 5a piega
11:00 – 6a piega
11:30 – riposo sul tavolo
12:00 – pirlatura
16:00 – lievitazione
16:40 – fine cottura
Puoi rallentare la lievitazione di notte e cuocerlo di mattina
Impastare il pane di sera per mangiarlo a pranzo
16:00 – Inizia con gli ingredienti e autolisi
16:30 – 1a piega
17:00 – 2a piega
17:30 – 3a piega
18:00 – 4a piega
18:30 – 5a piega
19:00 – 6a piega
19:30 – pieghe a fazzoletto
20:00 – pirlatura
Di notte – lievitazione in frigo
Mattina – lascia l’impasto tornare a temperatura per 30 minuti e infornare
High hydration no knead sourdough bread, inspired by Tartine Bread recipe but adjusted to the London weather and the flour I can find.
Ingredients
300g strong white flour (13g protein or above)
240g warm water (26 degrees)
100g sourdough starter (50% hydration, room temperature)
8g salt
1 tsp liquid malt / honey
The sourdough starter should be strong and happy. How do you tell it is? Well, you must have fed it at least the day before. If you start this recipe in the morning, you should feed the starter the night before.
Prepare the ingredients.
The water should be at 26 degrees. If the water is too cold, the dough will take more time to rise.
Pour the water in a bowl, with the starter and the malt (or the honey).
Squeeze the starter between your hands and stir it a bit.
Add the flour.
Mix it roughly till all the flour absorbs the water and it doesn’t have any lumps.
Cover it.
Wait 20 / 40 minutes or even more if you wish.
This is a crucial step and it shouldn’t be skipped!
I put on top of the cover the salt, so I don’t forget to add it when the autolysis is done.
After the autolysis, add the salt and fold the dough with your hands. Do it for about 5 minutes.
I normally do the folds in the bowl. I stretch the dough as much as I can, rotate the bowl a bit and fold the dough back on itself.
If the dough is very wet (or if I need to relax) I do some stretch & fold. You take the dough, lift it, stretch it, slap it and rotate it 90 degrees.
Every 30 minutes, for 6 times, you need to fold the dough in the bowl. You’ll see that the bowl will become more and more smooth, elastic and less wet.
The more you fold the bowl, the more you wait, the dough will also rise.
You should be careful with the precious bubbles you’ve created.
After the last fold, sprinkle a tiny bit of flour onto a smooth surface (ideally not wooden) and put the dough onto it. Fold the dough 4 times onto itself (from top to bottom, from left to right, from bottom to top and from right to left).
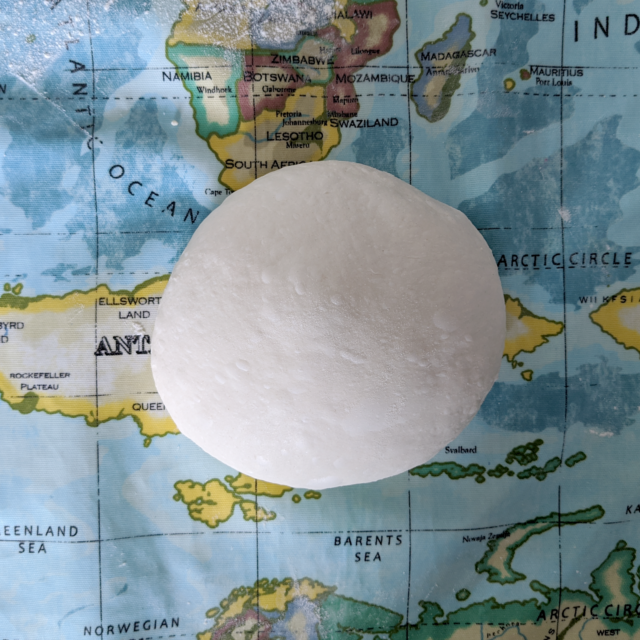
Turn it upside down, so that the smooth side rests on top.
Let the dough rest for 30 minutes.
Give another series of 4 folds and shape the dough into a ball, stretching it onto the surface.
Being a high hydration dough, it’s not very easy but you’ll get used to it.
Put a good amount of flour on the dough and put the dough into a banneton or into a colander with a towel in it.
Let it rise for 3 to 4 hours. This is called bulk fermentation.
Put a good amount of flour on the dough and put the dough into a banneton or into a colander with a towel in it.
Let it rise for 3 to 4 hours. This is called bulk fermentation.
After the 4 hours, the dough will have doubled its size.
Put a pan with some water into the oven and warm it up to 220 degrees.
Score the dough with a knife or a shaving blade.
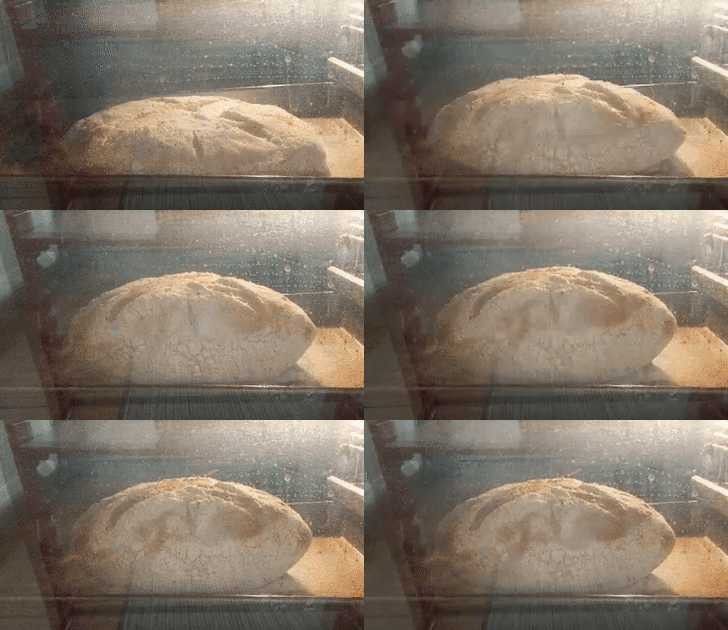
Bake the bread for 20 minutes, static, 220, with the pan with the water in it.
Don’t worry if the dough seems to relax too much, you’ll be surprised by its bounce rise in the oven.
Remove the pan with the water, bake for further 20 / 30 minutes at 220 degrees, static.
I love the bread when the crust is nice and brown. Let the bread rest for one hour at least.
Enjoy!
This recipe is a bit a long, but you can manage your timings as you like. These are my indications.
Daily bread
8:00 – Mix the ingredients, autolyses
8:30 – 1st fold
9:00 – 2nd fold
9:30 – 3rd fold
10:00 – 4th fold
10:30 – 5th fold
11:00 – 6th fold
11:30 – bench rest
12:00 – shaping
16:00 – bulk fermentation
16:40 – finish baking
You can also slow down the bulk fermentation in the fridge overnight
Night bread
16:00 – Mix the ingredients, autolyses
16:30 – 1st fold
17:00 – 2nd fold
17:30 – 3rd fold
18:00 – 4th fold
18:30 – 5th fold
19:00 – 6th fold
19:30 – bench rest
20:00 – shaping
Overnight – bulk fermentation in the fridge
Morning – let the dough warm up for 30’ and then bake
Sometimes I’m asked to do talks. I love preparing my presentations adding some bespoke animated gifs.
These are some titles I’ve recently used for a talk I did for Created Academy on the 17th November 2019.