How to make a Sphere in 3 weeks and remain sane (kind of).
For the 2025 Las Vegas Grand Prix, our team at Google Creative Lab had just under four weeks from pitch to final delivery to produce a 60-second takeover of the 150-meter Las Vegas Sphere with McLaren Racing and Gemini.
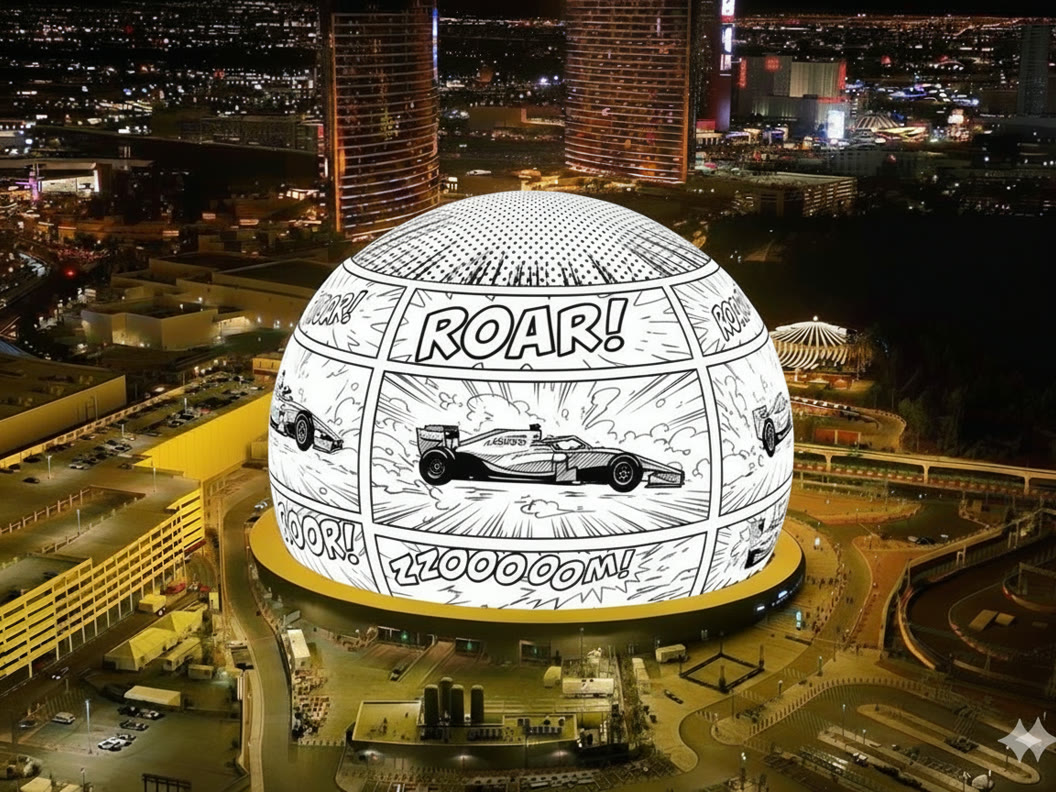
The concept wraps a single prompt around the Las Vegas skyline: “Hey Gemini, reimagine the McLaren F1 car as…” Every few seconds, the entire dome transforms into a completely different hand-crafted world: a classical zoetrope, an oil painting, a black-and-white comic book, an 8-bit arcade game, a technical blueprint, and a child’s wax crayon drawing.
Having already figured out how the Sphere worked on our 2023 takeover, I acted as creative lead on the motion side, explaining how the 360-degree spherical pipeline worked to our external motion partner, and jumping in hands-on to build and animate the entire wax crayon world myself in Cinema 4D and After Effects.
Role: Creative Lead & Motion Director (concept, spherical pipeline supervision, and hands-on 2D/3D animation on the Wax Crayon sequence).
Live in Las Vegas: the hand-drawn wax crayon world wrapping the 150-meter Sphere at night.
The comic-book transformation (“ROAR!”) live against the Nevada mountains at dusk.
01. Pitching Six Worlds at Warp Speed
Before touching a single final keyframe, we had to get the concept approved across multiple teams on a tight race-week clock. Instead of pitching flat moodboards, we used Nano Banana and Veo to generate animated spherical mockups of all six art styles mapped right onto the Las Vegas skyline.
Being able to “jump to the end” during the pitch phase meant everyone could immediately feel how a comic book or a wax-crayon desert would read at 150 meters wide, locking the creative direction in days rather than weeks.
The unforgiving equirectangular UV distortion template required to wrap the Las Vegas Sphere without pinching at the pole.
01. Classical Zoetrope
02. Oil Painting
03. Comic Book
04. 8-Bit Arcade Game
05. Technical Blueprint
06. Wax Crayon Drawing
02. Building the Wax Crayon World in Two Days
Here is the catch when an AI-assisted pitch gets approved: you can’t just stretch a low-resolution AI video across a 16K LED dome. Once the wax-crayon sequence was greenlit, I had two days to build it for real at full spherical resolution.
Instead of asking AI for a finished shot, I used Nano Banana like a rapid illustration department: generating hundreds of individual wax-crayon assets (trees, helicopters, casinos, clouds, desert cactuses), cutting them out on alpha, and bringing them straight into a traditional Cinema 4D, Photoshop, and After Effects compositing pipeline.
Hundreds of individual Nano Banana wax-crayon illustrations generated as raw building blocks.
Isolated on alpha channels ready to be layered in 3D space in After Effects.
03. Stitching the 360° Strip & Green-Screen Loops
In Photoshop and After Effects, I stitched the crayon desert and the Las Vegas Strip across a seamless 360-degree horizon, layered in the racetrack, animated the McLaren F1 cars roaring around the equator, and populated the foreground with parallax crayon trees.
For secondary motion in the background, like the rollercoaster looping behind the skyline, I generated crayon animations in Veo on a bright green screen, keyed them out, and tracked them directly into the master After Effects comp.
Green-screen Veo rollercoaster loop keyed and tracked into the background skyline.
Step-by-step compositing passes across the 360° horizon: sky, desert & Strip, track + McLaren F1 cars, and foreground parallax foliage.
The final unwrapped 360° panoramic strip in motion before spherical projection.
5-view Cinema 4D spherical turntable (Top, South, West, East, and Perspective) used to check horizon seams.
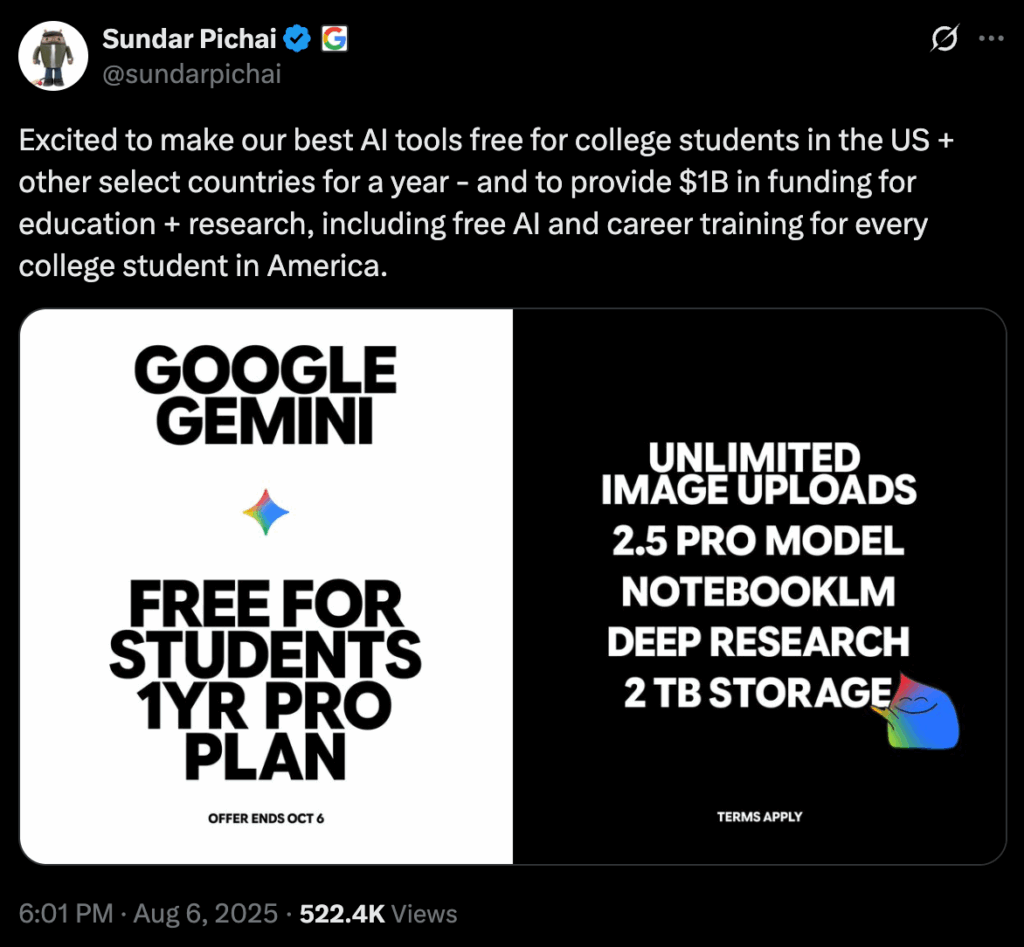
Some days are just different. You can spend years creating massive projections that can be seen from the sky, but nothing quite prepares you for the day a small character you drew to relax becomes the face of a global Google campaign, launched with a tweet from CEO Sundar Pichai. Seeing a meditative, spare-time doodle reach a global stage is why I’m still emotional about it all. Here’s to the silly ideas that turn into something more.
This little character was created to help announce a big idea: making Gemini Pro, Google’s flagship AI, free for university students. It was a real labour of love: I came up with all the ideas, drew Gigi by hand in Procreate, and animated it myself as part of the team in charge of all the campaign assets (creating a huge library of animations, including plenty that never even made it to air).
Role: Character Creator, Concept, Direction & Frame-by-Frame Animation.
The Journey of a Doodle
The character didn’t start with a brief, but on an iPad with a personal goal: to learn. For years, I’ve used personal projects like my Gastaloops GIF series to find my own voice. This started the exact same way, as an ongoing series in my spare time to teach myself simple character design and the craft of frame-by-frame cel animation.
The process was entirely hands-on, using Procreate to painfully draw each frame one by one. In an era defined by digital perfection, we made a conscious choice to embrace the wobbly lines and the warmth of the human touch. The character’s imperfect form is a deliberate visual metaphor, showing that Gemini is built to be an approachable learning companion, not a cold, intimidating machine.
I tapped back into my own memories for inspiration, revisiting the simple doodles I used to draw in the margins of my notebooks at university. The little dude went through plenty of iterations (and haircuts) along the way.
From a Sketch to the World Stage
A personal doodle doesn’t become a global campaign by accident. It takes an environment like Google Creative Lab, which has a rare culture of connecting technology and people through fiction, emotion, and surprise. This only happened because the leadership at the Lab believed in these rough illustrations and let them lead the campaign.
The launch on August 6, 2025 was surreal. It kicked off with Sundar Pichai’s post and an official Google announcement making the Google AI Pro plan, including Gemini 2.5 Pro and Deep Research tools, free for a full year to students across the U.S., Japan, Indonesia, South Korea, and Brazil. The character’s simple, universal design allowed it to live across landing pages and social channels worldwide, resonating especially strongly in Japan.
Of course, this was a massive team effort. My deepest thanks go to the leadership at the Lab for backing this direction and to the entire team across Google who brought it to life. Watching this little drawing grow into an official Google character means more to me than I can easily put into words. Even in the middle of an AI revolution, the most direct way to connect with people is still through something real, human, and slightly wobbly.
And then we finally revealed their name: Gigi!
Gigi Came Back This Year Too
The best part? Gigi didn’t just disappear after the first launch. Gigi came back this year too.
When I originally drew Gigi myself on my iPad in Procreate, I never imagined that this little hand-drawn character would not only become a global campaign, but return for a whole new back-to-uni season across the world, from new social animations announcing the student plan’s return to helping students tackle quadratic equations on the official Google Australia blog.
Remixed with Nano Banana
One of the most delightful surprises of seeing Gigi travel across global Google teams was watching how people remixed the character using Google’s own AI tools.
For the Google Australia Student Plan campaign, the flat 2D Procreate drawing was reimagined with Nano Banana into a tactile 3D felted-plush figurine sitting on a student’s desk right next to its own collector’s box. Seeing a wobbly hand-drawn doodle turned into a 3D toy felt like magic.
Out in the Real World (and the Stickers I Never Got!)
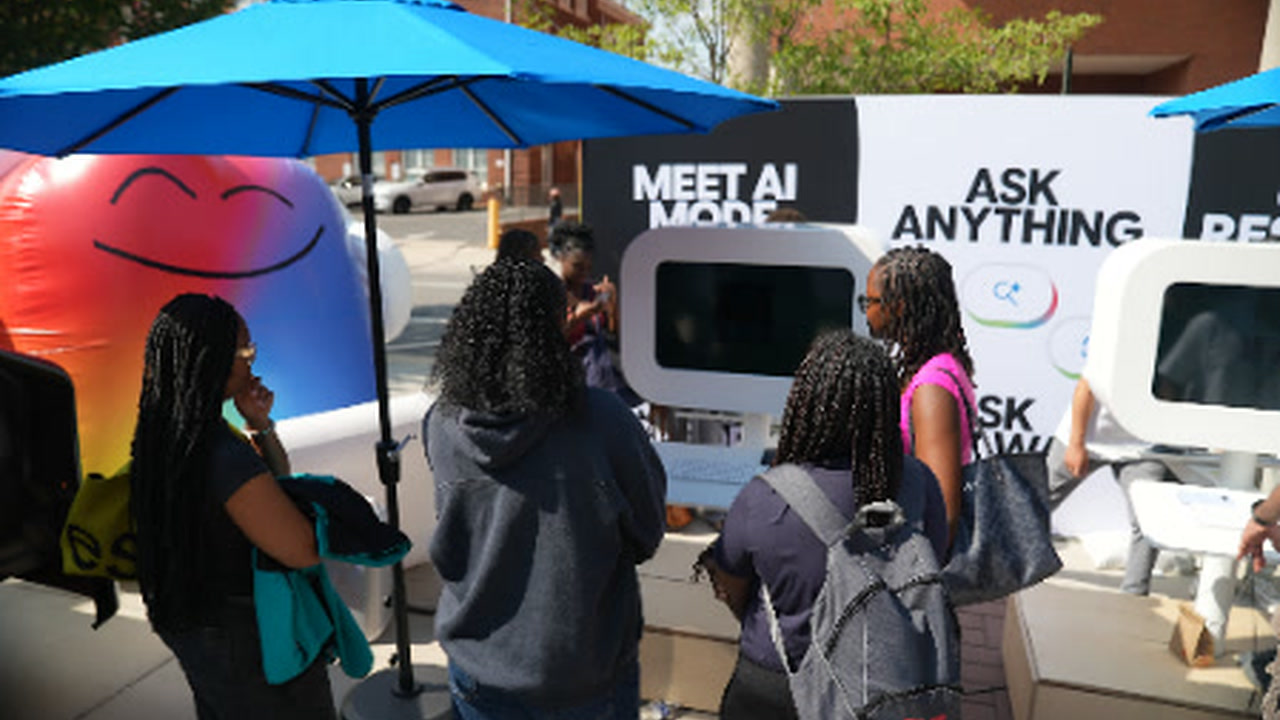
Even crazier was seeing Gigi step off the screen and into the physical world across university campuses. For the Google Gemini campus brand activations produced by YMC (Youth Marketing Connection), Gigi was brought to life as a giant 3D inflatable mascot on campus quads, printed across directional signs and interactive study walls, and handed out in trays of die-cut stickers.
True confession: I actually never managed to get my hands on those physical Gigi stickers in person, so if anyone out there still has one stashed in a notebook or drawer, please send one my way!
Most of the work done by Google’s security teams happens quietly behind closed doors, whether they are intercepting state-sponsored cyber attacks or trying to break into Google’s own systems to find vulnerabilities first. Hacking Google is a six-part documentary series that goes inside the Threat Analysis Group, Detection and Response, Red Team, Bug Hunters, and Project Zero.
Working with the team at Google Creative Lab, I helped develop the overall visual concept for the series and led the motion direction and execution for Episode 002 (Detection and Response). Starting from empty black placeholders in the edit, I took every sequence from initial concept to wireframe to final render. Because Google’s strict security rules meant we couldn’t use any external render farms, I had to heavily optimize our Houdini, Cinema 4D, and Redshift setups so we could render everything locally in-house.
The series won a D&AD Wood Pencil for Non-Scripted Long Form Entertainment (IMDb).
Role: Series Visual Concept & Lead Motion Designer / 3D Artist on Episode 002.
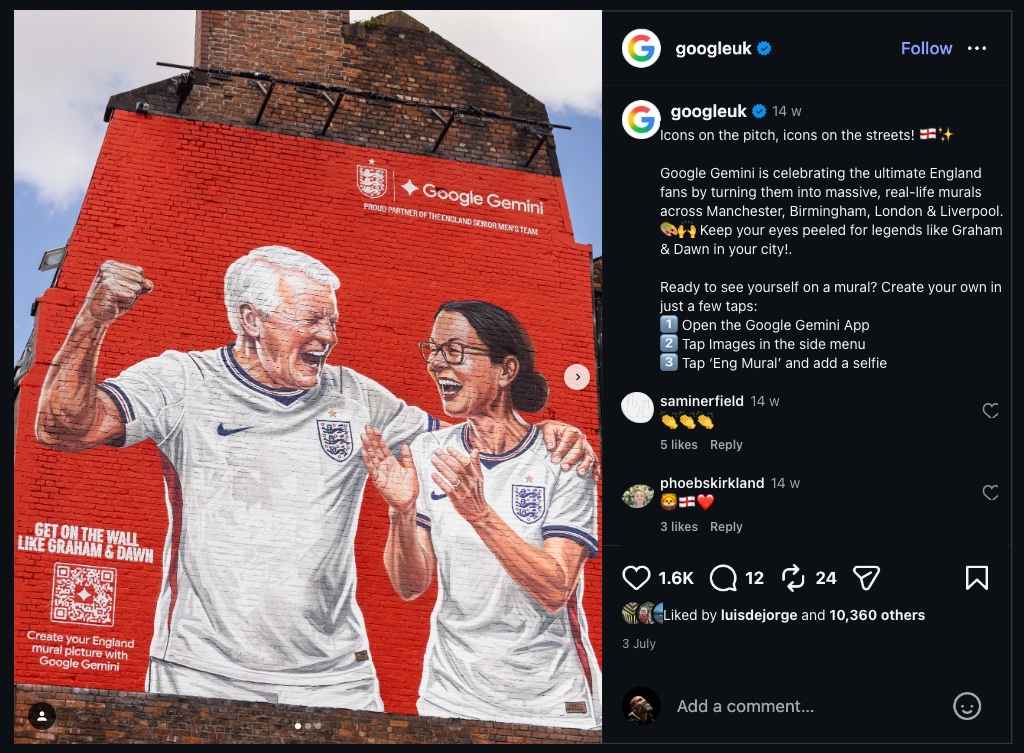
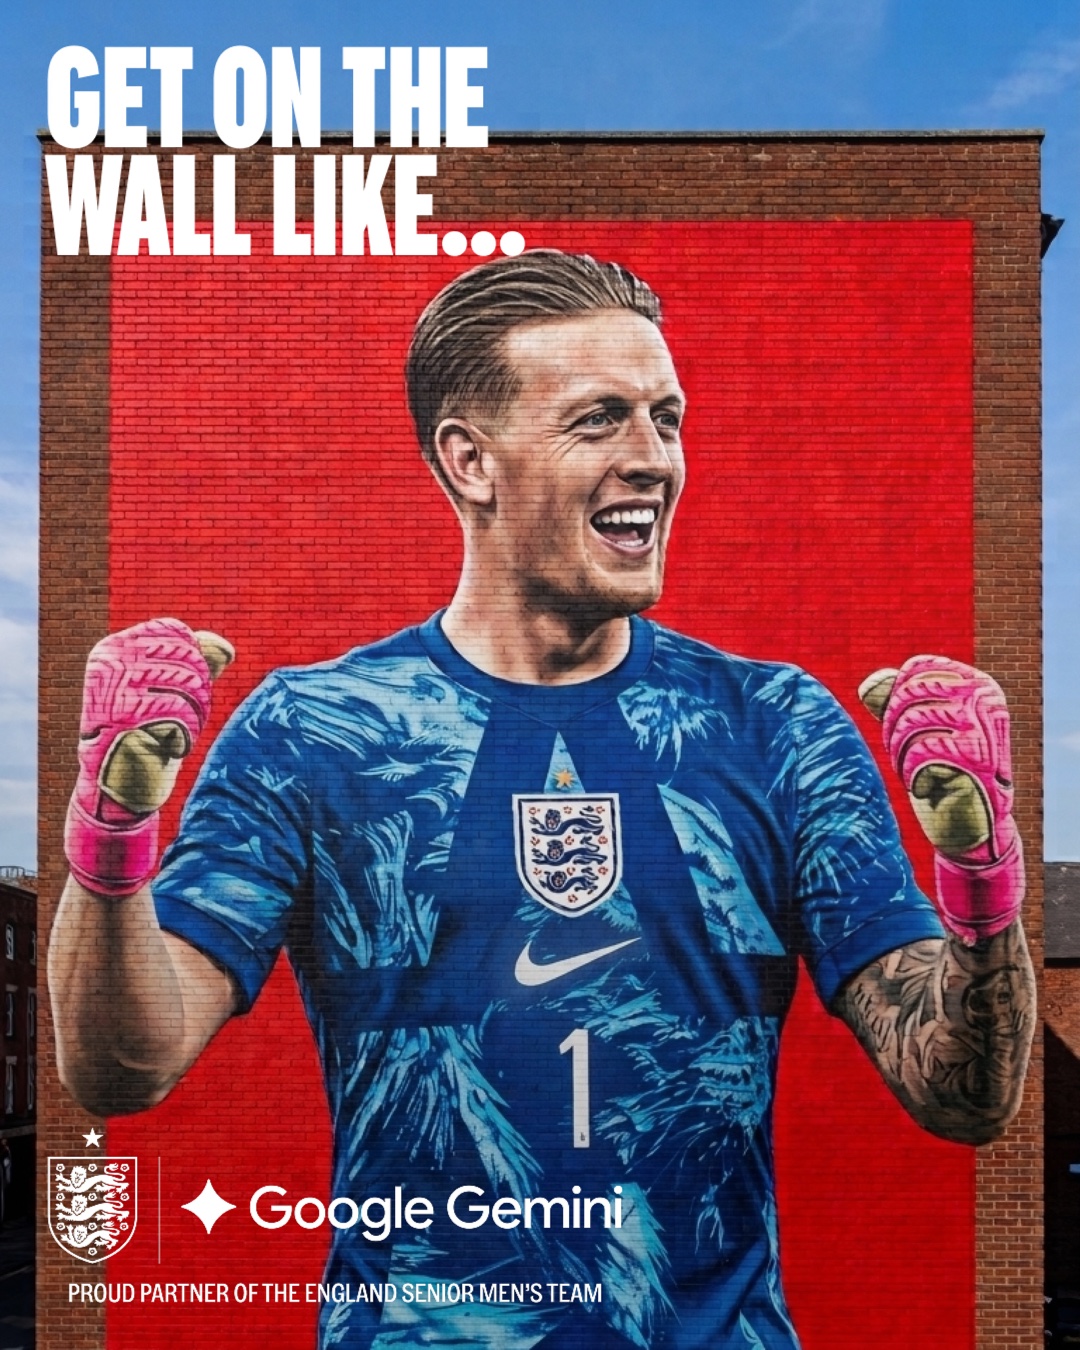
Ahead of the 2026 summer tournament, Google Gemini partnered with The FA (England Football) on Get On The Wall: an experience that lets England supporters turn a selfie into a hand-painted brick-wall mural alongside the Three Lions squad.
I worked on developing the visual look and the prompt that shipped directly inside the Gemini app to turn fans into a mural. I genuinely loved red-teaming the prompt and testing it thoroughly. In order to do so, I put together a custom testing app that allowed us to generate and stress-test the prompt across different generations and people of all sorts of looks before launch, streamlining the workflow extensively.
From the app template, the campaign expanded into real physical murals painted across London, Manchester, and Birmingham, player reveals with Harry Kane and Jordan Pickford, and a wider activation with LADbible / SPORTbible celebrating grassroots legends and England superfans.
After twenty years in After Effects, there are certain looks, like reeded glass, bleeding ink, or Risograph halftones, that always end up needing a messy stack of fifteen adjustment layers and pre-comps. I started wondering: what if instead of asking AI to generate the final image, I asked it to build the custom plugin I actually needed?
I don’t know how to write code, so I pointed Google Antigravity at the Adobe After Effects SDK, described the exact controls and visual behaviour I wanted as a motion designer, and went back and forth testing until we had five working macOS plugins. It’s all about shortening the gap between thinking “I wish I had a button for this” and actually having it in my Effects menu.
Role: Concept, Look Development & Creative Direction (built with Google Antigravity).
001. Solco
Solco gives you the look of architectural reeded and fluted glass inside After Effects in a single effect, with controls for the glass ridges, refraction, highlights, and a bit of organic wobble.
Poro mimics the way real liquid ink bleeds and spreads into paper fibres, something a standard blur never quite gets right, with simple sliders for ink density, paper roughness, and dark pooling edges.
Punto brings the tactile feel of a Risograph print into After Effects, complete with halftone dot screens, soy-ink colour palettes, slightly misaligned colour plates, and paper grain.
Stria stretches pixels outward from a point along any angle. I made it for those everyday moments when you quickly need to extend a background plate or turn a small element into a directional motion smear.
Most particle plugins ask you to keyframe emitters in empty space. With ParticleFlowX, I wanted a plugin that simply watches your video layer and lets the movement inside the footage push the particles around like smoke or liquid, picking up the colours of the shot as it moves.
It started as a small personal test just to try out a setup in After Effects, and quickly grew way beyond anything I expected.
Here are my Gastaloops: a 100-day daily project, creating and posting one seamless looping animated GIF every single day.
01. Concept
Browsing the internet, I kept seeing artists and designers who managed to keep themselves busy with daily personal projects, posting something new every single day.
Looking at them, I always thought I could never pull it off: too busy with my day job in the studio, too busy at home with my family. But I decided to try anyway. I just had to work against the clock.
02. Limits
To fuel creativity and avoid blank-page paralysis, I set strict rules from day one. Playing inside tight boundaries always relaxes me and lets me focus on the idea.
Three colours only: An off-white, a coral red, and pure black, using RGB values easy enough to type from memory every night: R255 G230 B255, R255 G100 B100, and R0 G0 B0.
Resolution:800×600, optimised for Dribbble.
Duration: Exactly 50 frames in a seamless loop, finished in roughly one hour.
03. Freedom
With all the technical limits locked in, I needed one final rule that would keep me from ever getting stuck: no rules at all about tools or style.
Every loop could be made in Cinema 4D, After Effects, Photoshop, Houdini, RealFlow, hand-drawn frame by frame, or shot on camera. A tool is just a tool, and stepping outside your comfort zone is half the fun when you only have an hour on the clock.
04. Impact & Press
Making these loops was an unforgettable ride. Even now, I can look at any single GIF in the grid below and remember exactly where I was and what happened that day.
Posted daily across Dribbble, Imgur, Twitter, and Giphy, the series passed over a million views on Imgur alone and was featured across international design press:
After finishing the 100th loop, I edited the collection together into an official music video for Out by IISO, which premiered on Wired and went on to tour international animation festivals.
As a kid, I spent hours staring at dense illustrated books, lifting the flaps of Where’s Spot, hunting for Wally, or getting lost inside Richard Scarry’s giant cutaway ships. Every window felt like its own little world waiting to be uncovered.
With London Morning, I wanted to see if I could recreate that feeling as a living, breathing piece of animation. At first glance it looks like a single crowded illustration of a London street, but behind every window and street corner is one of 100 hidden, looping video stories, spanning an equivalent 128,000 × 72,000 pixel canvas.
20-Second Teaser
Interactive Micro-Cinema
Click any window or street corner below to zoom into its looping story, or launch the full-bleed canvas in a dedicated tab. Press M (or tap the audio badge) to toggle sound.
Doing 100 separate rooms by hand would have taken months, so I chained together a few tools to do the heavy lifting while I focused on the look, the humour, and the characters.
Since completing London Morning, I have built three additional interactive canvas projects using this pipeline (linked at the bottom of this page).
Next step: Adapting this engine for large-scale physical touchscreen installations in gallery and exhibition environments.
Interested in collaborating, hosting an installation, or seeing a demo? Hit me up!
Concurrent Motion Grid (100 Loops)
How I put it together
The Master Illustration (Nanobanana / Google Flow): I started by prompting and art-directing a huge cross-section illustration of a London building.
Slicing the Rooms (ComfyUI): I used a ComfyUI setup to slice the master artwork into a clean 10×10 grid of 100 individual rooms and street corners.
Writing the Banter (Gemini): I fed each room to Gemini to look at who was inside and write tiny, funny bits of London morning dialogue.
Animating the Loops (Veo): I sent each tile and its dialogue into Veo to bring all 100 scenes to life.
Putting It on the Web (Google Antigravity): Since I don’t write code myself, I used Google Antigravity to stitch all 100 video clips into the interactive zoomable canvas above.
Role: Concept, Art Direction & AI Workflow.
Behind the Scenes Breakdown
Want to explore the full canvas? This 5-minute recording captures the individual micro-narratives, audio loops, and character interactions across the entire grid.
5-Minute Canvas Walkthrough
More Interactive Micro-Cinema Experiments
Explore three additional interactive canvases built with this spatial micro-cinema pipeline:
England 4 – 2 Croatia: World Cup Celebration Interactive crowd micro-cinema built the night England beat Croatia 4–2, with Gemini writing scripts of fans commenting on the match.
I have a habit of turning new tools into daily obsessions. After a few false starts over the years, I set myself a simple rule to learn SideFX Houdini and Redshift the hard way: open a blank scene every day, build a procedural setup from scratch, and hit render before going to sleep.
hallhoucinations is the supercut and visual archive of that sprint: 43 daily experiments playing with cloth, grains, fluids, and rigid-body destruction. The goal was never polish for its own sake, just building muscle memory through repetition until the software started feeling like an instrument.
Created for Starling Bank’s exhibition stand at Sibos in London, this motion package was designed for a custom 3400×1600 (17:8) L-shaped LED wall wrapping around the space.
10 Narrative Chapters
Starting and resolving on the Starling Bank mark, ten seamless loops translate core banking concepts (murmuration, effortless capital movement, modular marketplace architecture, and regulatory control) into pure geometric motion.
5 Generative Patterns
Alongside the narrative films, five continuous pattern animations recombine Starling’s visual elements into constantly moving architectural textures across the stand.
Working in a team of four motion designers at Google Creative Lab, I helped shape the motion language and 3D look-development for the global launch of the Google Pixel 9 family.
With a completely redesigned hardware silhouette across the Pixel 9 Pro, Pixel 9 Pro Fold, Pixel Watch 3, and Pixel Buds Pro 2, our goal was to celebrate the physical craft of the devices while visualising the arrival of Gemini built directly into the hardware.
Role: Motion Direction & 3D Look-Development (in a 4-person motion team at Google Creative Lab).
01. Sculpted Metal & The Gemini Shimmer
The defining feature of the Pixel 9 generation is the new stadium-shaped camera bar: a precision-milled island of matte glass and polished aluminium rising cleanly from the back of the phone.
Rather than layering external particle effects on top of the device, we integrated the magic of Gemini directly into the studio lighting rig. As the camera orbits the phone, a four-colour spectral shimmer travels along the chamfered metal edges and lens rings, turning a physical reflection into a living AI signature.
Macro look-development study: specular light sweeping across the Porcelain camera bar into the Gemini reveal.
Gemini four-colour light ribbon catching the bevel of the Pixel 9 Pro camera bar.
Global DOOH hero lockup pairing the Porcelain finish with the Gemini spark.
02. Global DOOH: Built for Every Screen Shape
A global hardware launch has to work everywhere at once: from towering 9:16 vertical monoliths at bus stops and train stations to ultra-wide landscape billboards and retail walls.
We designed a modular choreography system where the camera moves, specular highlights, and typographic lockups adapt cleanly between portrait and landscape ratios without ever losing the macro focus on the hardware contours.
03. Choreographing the Pixel 9 Pro Fold
For the Pixel 9 Pro Fold, the motion language shifts from monolithic solidity to ultra-thin mechanical precision. In both Obsidian and Porcelain, the choreography plays with extreme silhouette angles, rotating the device onto its razor-thin profile before unfolding into the full inner display illuminated by the “Oh hi, AI” gradient.
Wide-aspect study (2834×1130) of the Porcelain Pixel 9 Pro Fold hinge and inner display transition.
04. The Connected Hardware Family
Beyond the phones, the motion system unites the entire 2024 hardware ecosystem: Pixel Buds Pro 2, Pixel Watch 3, and Pixel 9 Pro. Using shared orbital momentum and matching studio reflections, each object hands the motion off to the next before locking into the final family portrait.
Orbital transition uniting Pixel Buds Pro 2, Pixel Watch 3, and Pixel 9 Pro.
05. Broadcast & Live-Action Integration
For the broadcast companion spots, the studio 3D motion language bridges directly into live-action photography, matching the exact scale and position of the physical phone in hand before resolving into the 3D Gemini hardware endframe.
Whenever I want to test a new shader, lighting rig, or render engine without the pressure of a client brief, I end up building characters. Give a basic primitive two eyes, slightly awkward proportions, and a stubborn personality, and a technical test immediately turns into a story.
This page collects five personal 3D character and creature series created in Cinema 4D, Octane, and Redshift: from geometric ensembles and fuzzy misfits to rusted mechanical bots and looping walk cycles.
24 million satellite images from the past 37 years, 2 million hours of rendering done inside Google’s carbon neutral data centers, the new Google Earth Timelapse features time as the 4th dimension to explore our planet.
Done entirely at Creative Lab London, I came up with the visual approach working closely with the engineers, using hacked pre-release versions of Google Earth Studio enabled with experimental features so we could merge separate shots seamlessly, and built the pipeline into After Effects alongside all the data overlays.
I then animated the 3d cameras in Google Earth Studio, rendering on multiple machines, 4k imagery that has been then used for the first time in January at Davos 2020 on the main led screen, which used a 2:1 ratio and a 4k resolution.
I also delivered assets for other screens in Davos, one huge video that was looping between the three main ones and more clips used by scientists.
Look to Speak is an Android app from ‘Experiments with Google‘ which enables people who have language and motor impairments to use their eyes to select pre-written phrases and have them spoken aloud. Keyword Post.
I directed and animated all the motion for the project: the UI screens, the teaser, the tutorials (in app and YouTube), the GIFs for the media comms pack, and some clean ups on the main film. The project won a D&AD Yellow Pencil, The One Show, and Cannes Lions.
This project was a real turning point for me. When our team at Google Creative Lab partnered with Chrome and McLaren for the Las Vegas Grand Prix, the Sphere had only been open for 40 days. Almost no one knew how to animate for the full surface yet, most people were splitting it into two or three flat screens with visible seams. Having done projection mapping and motion graphics for over 20 years, I figured out how to make a true, seamless full-360° animation that held perspective from both the ground and the air.
I also pitched, simulated, and rendered the final celebratory confetti sequence myself in Houdini and Redshift: a massive 360GB simulation of two million particles advected across the dome, and directed a stripped-back, high-contrast version specifically for race night so the graphics would read cleanly on broadcast helicopters and across the circuit.
Role: Motion Director, 360° Spherical Pipeline & Houdini FX Artist.
Hardware Objects, Spatial Tools, and Audio-Visual Instruments
Working at Google Creative Lab means I get to play with new tools every day, but the part I love most is seeing what happens when you take them outside the chat box. I don’t know much about coding, and I didn’t write a single line of code for any of the projects below. All I had was an idea or a specific itch to scratch, and I used Google Antigravity, Gemini, and AI Studio to do the wiring and coding until the thing in my head actually worked.
Role: Concept, 3D / Visual Design & Direction.
001. SongViz
E-Ink Liner Notes for Sonos
Streaming music on Sonos is effortless, but you lose the best ritual of vinyl: picking up the sleeve to read who actually wrote the song, who produced it, and what label put it out. I wanted a calm, physical object sitting next to the speaker that brings those liner notes back without adding another glowing LCD screen to the living room.
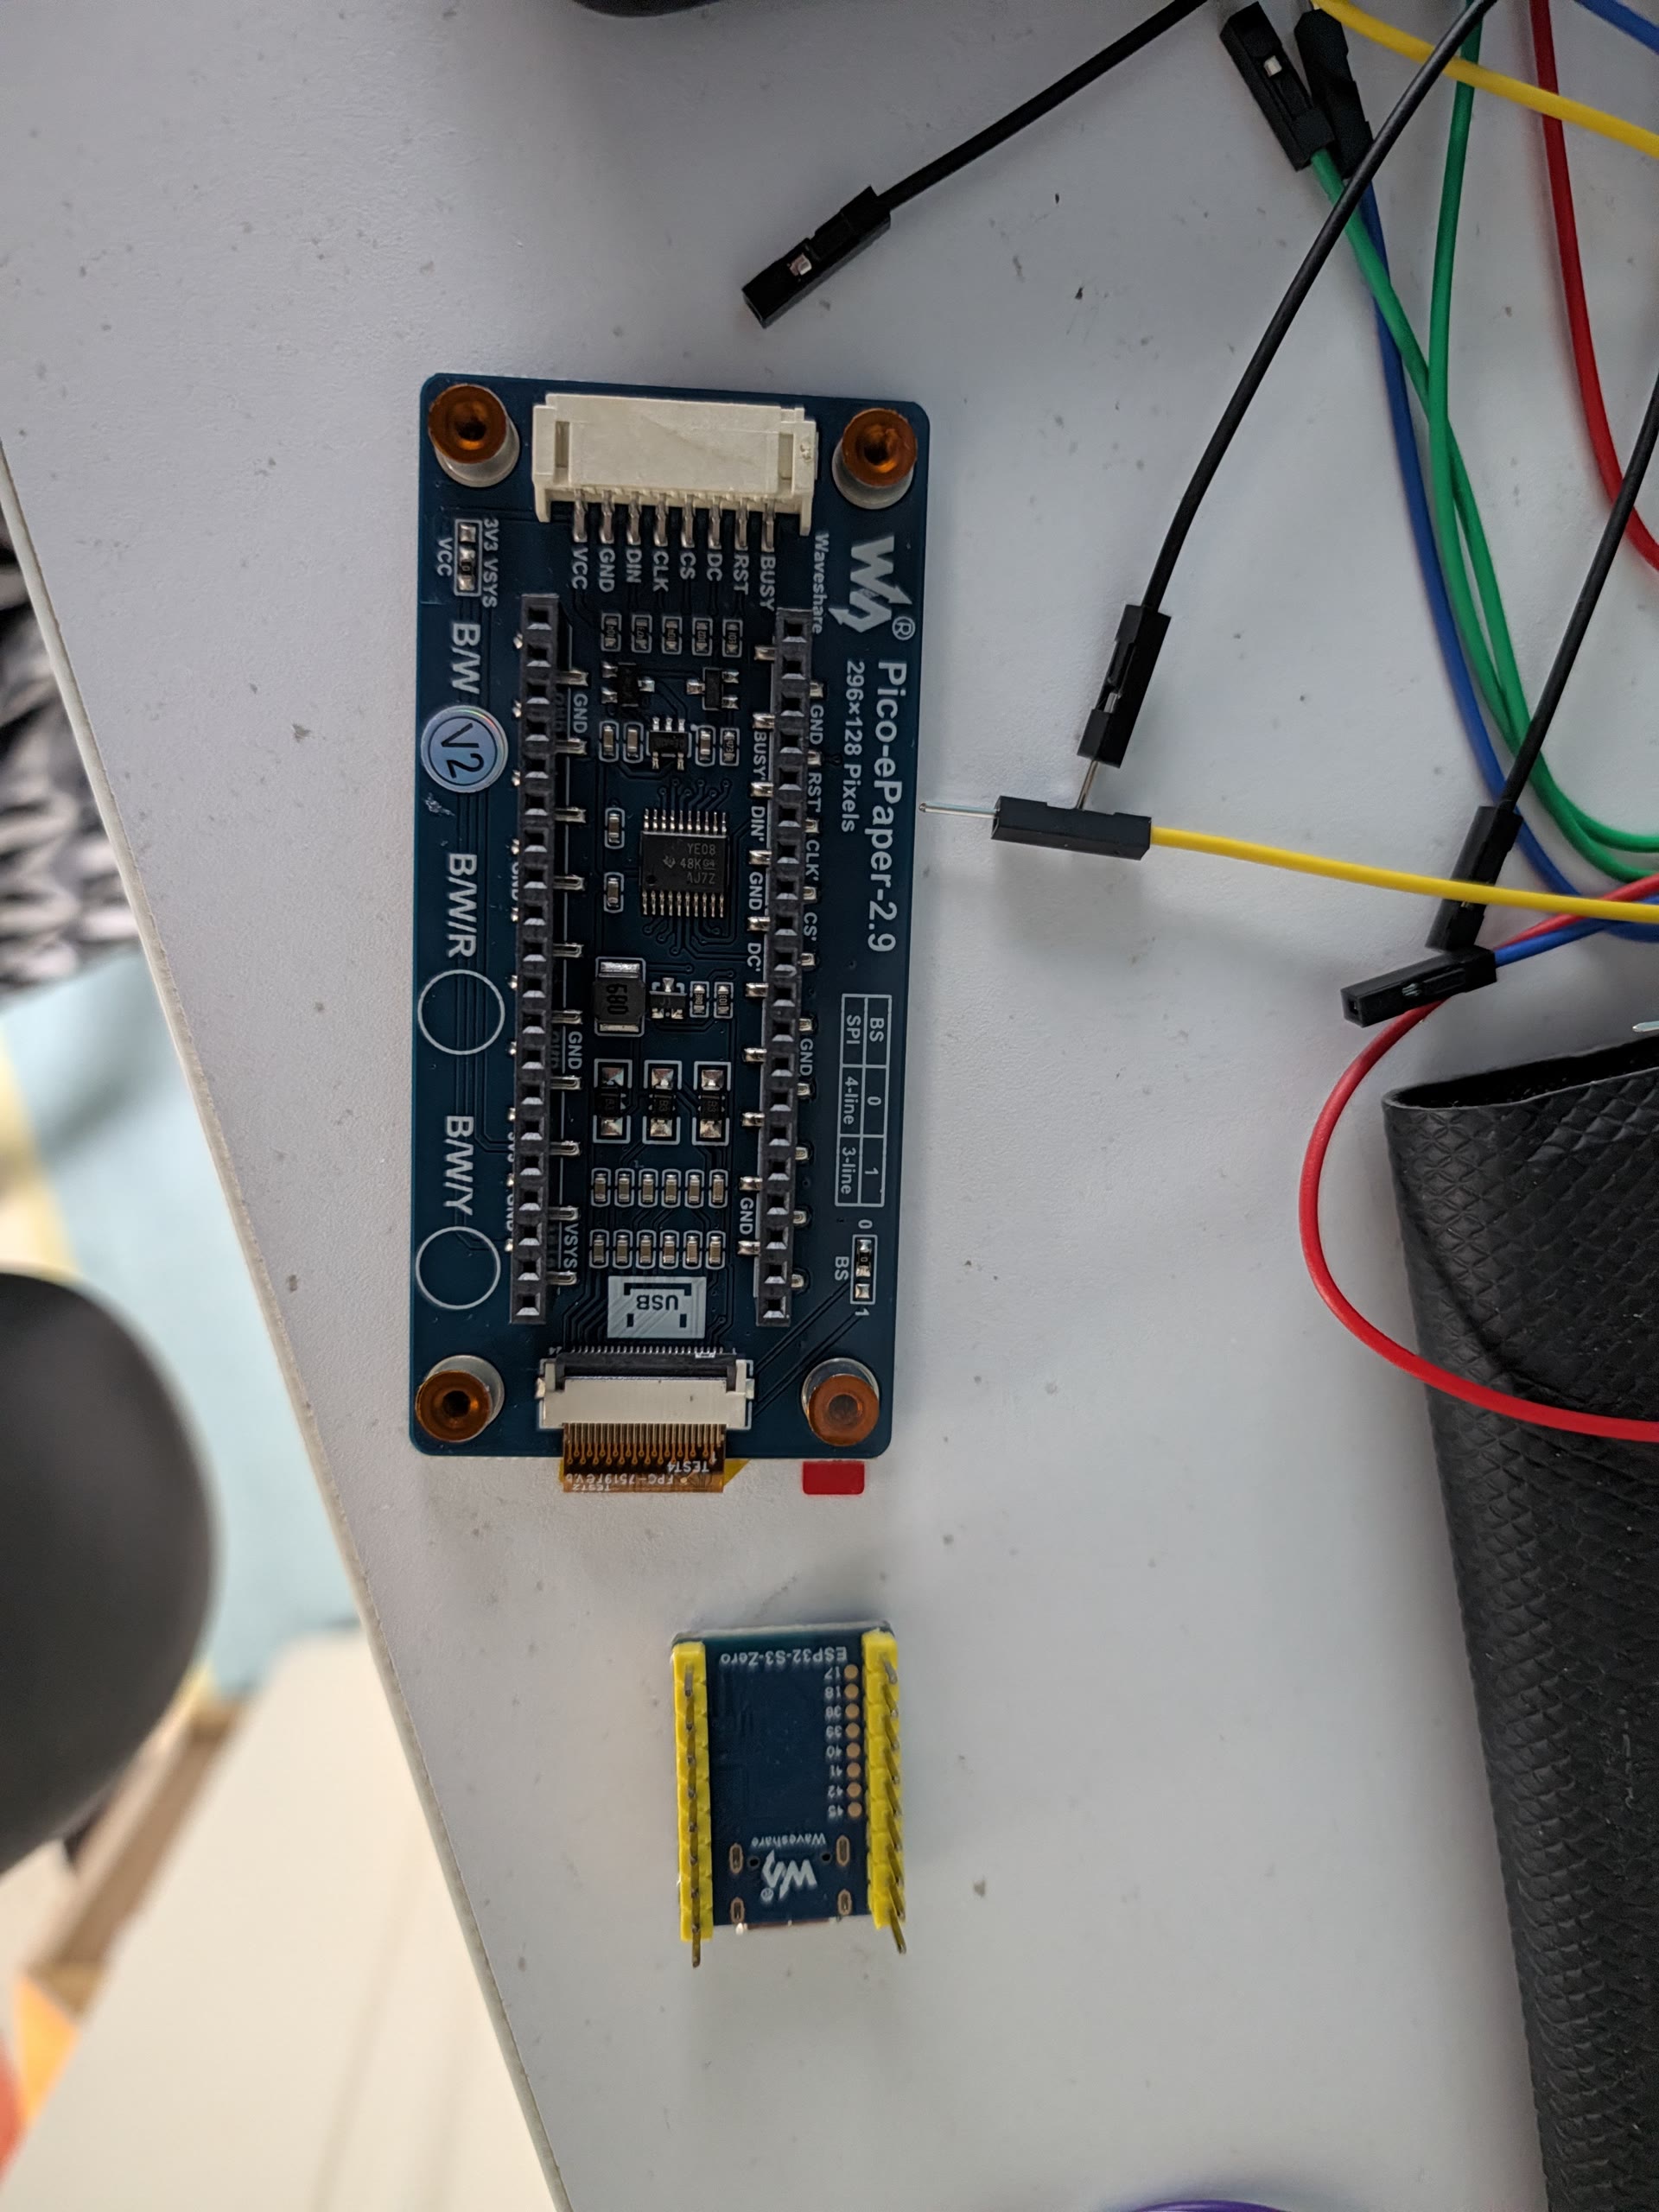
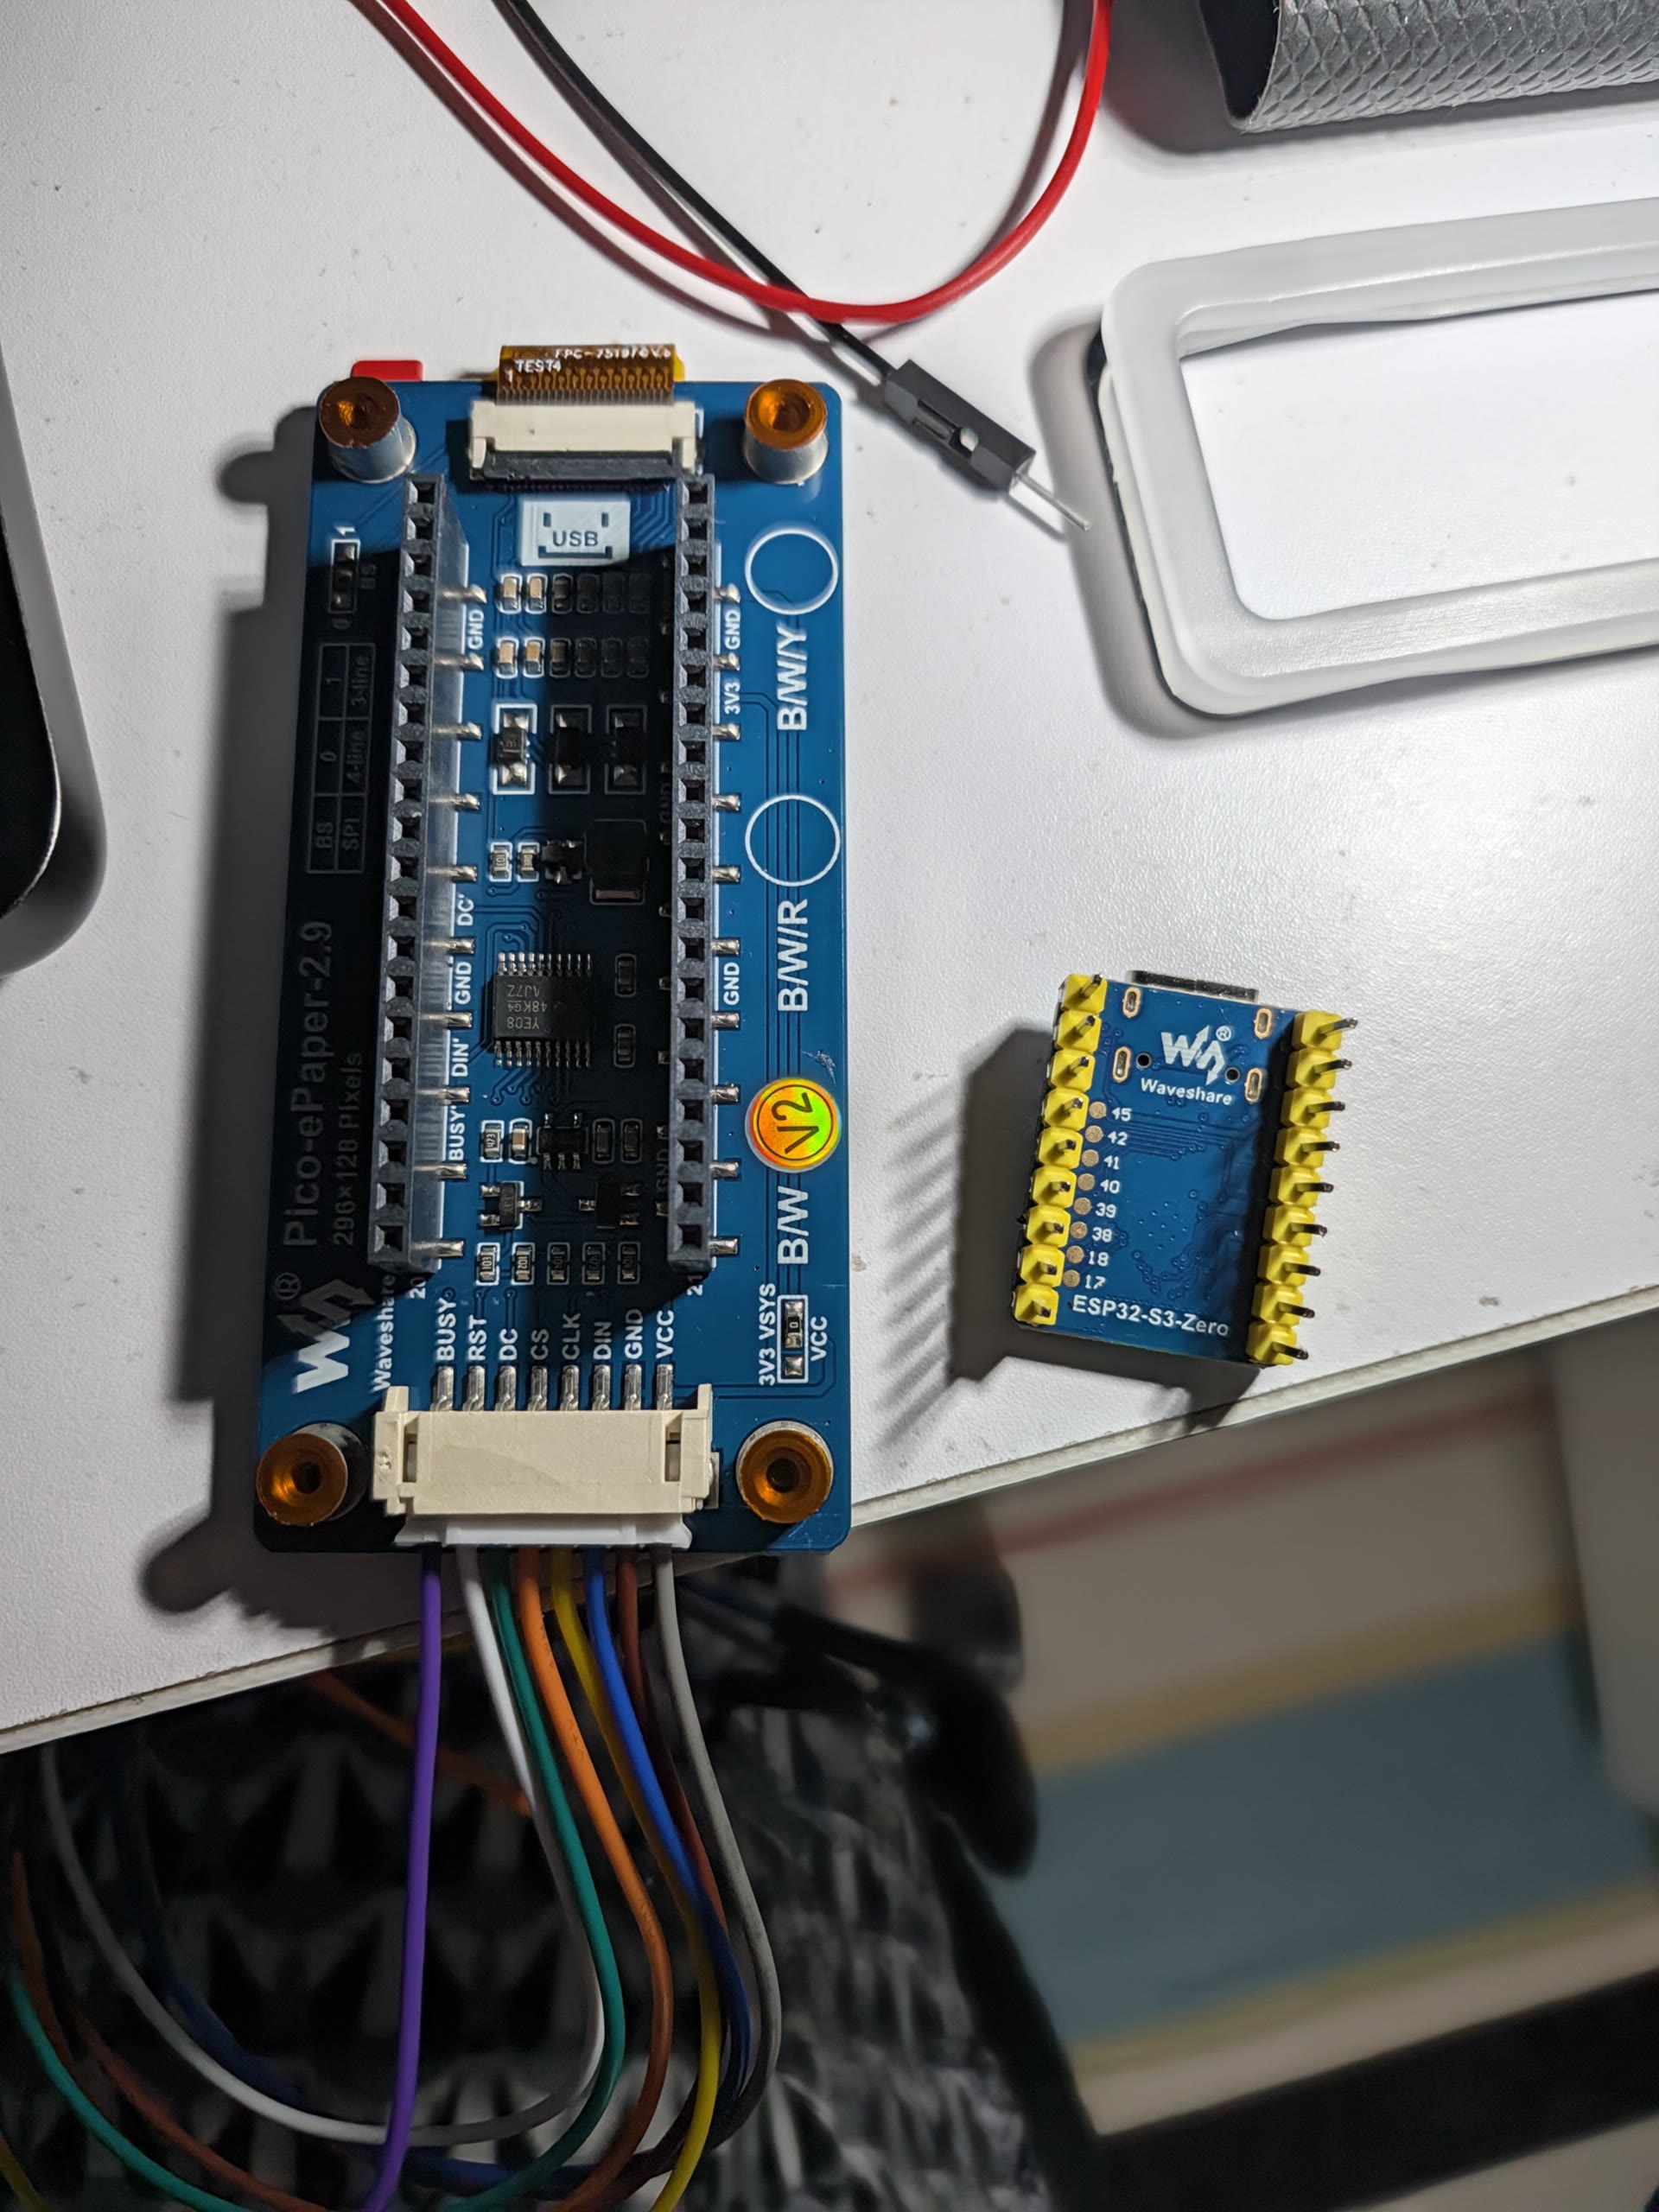
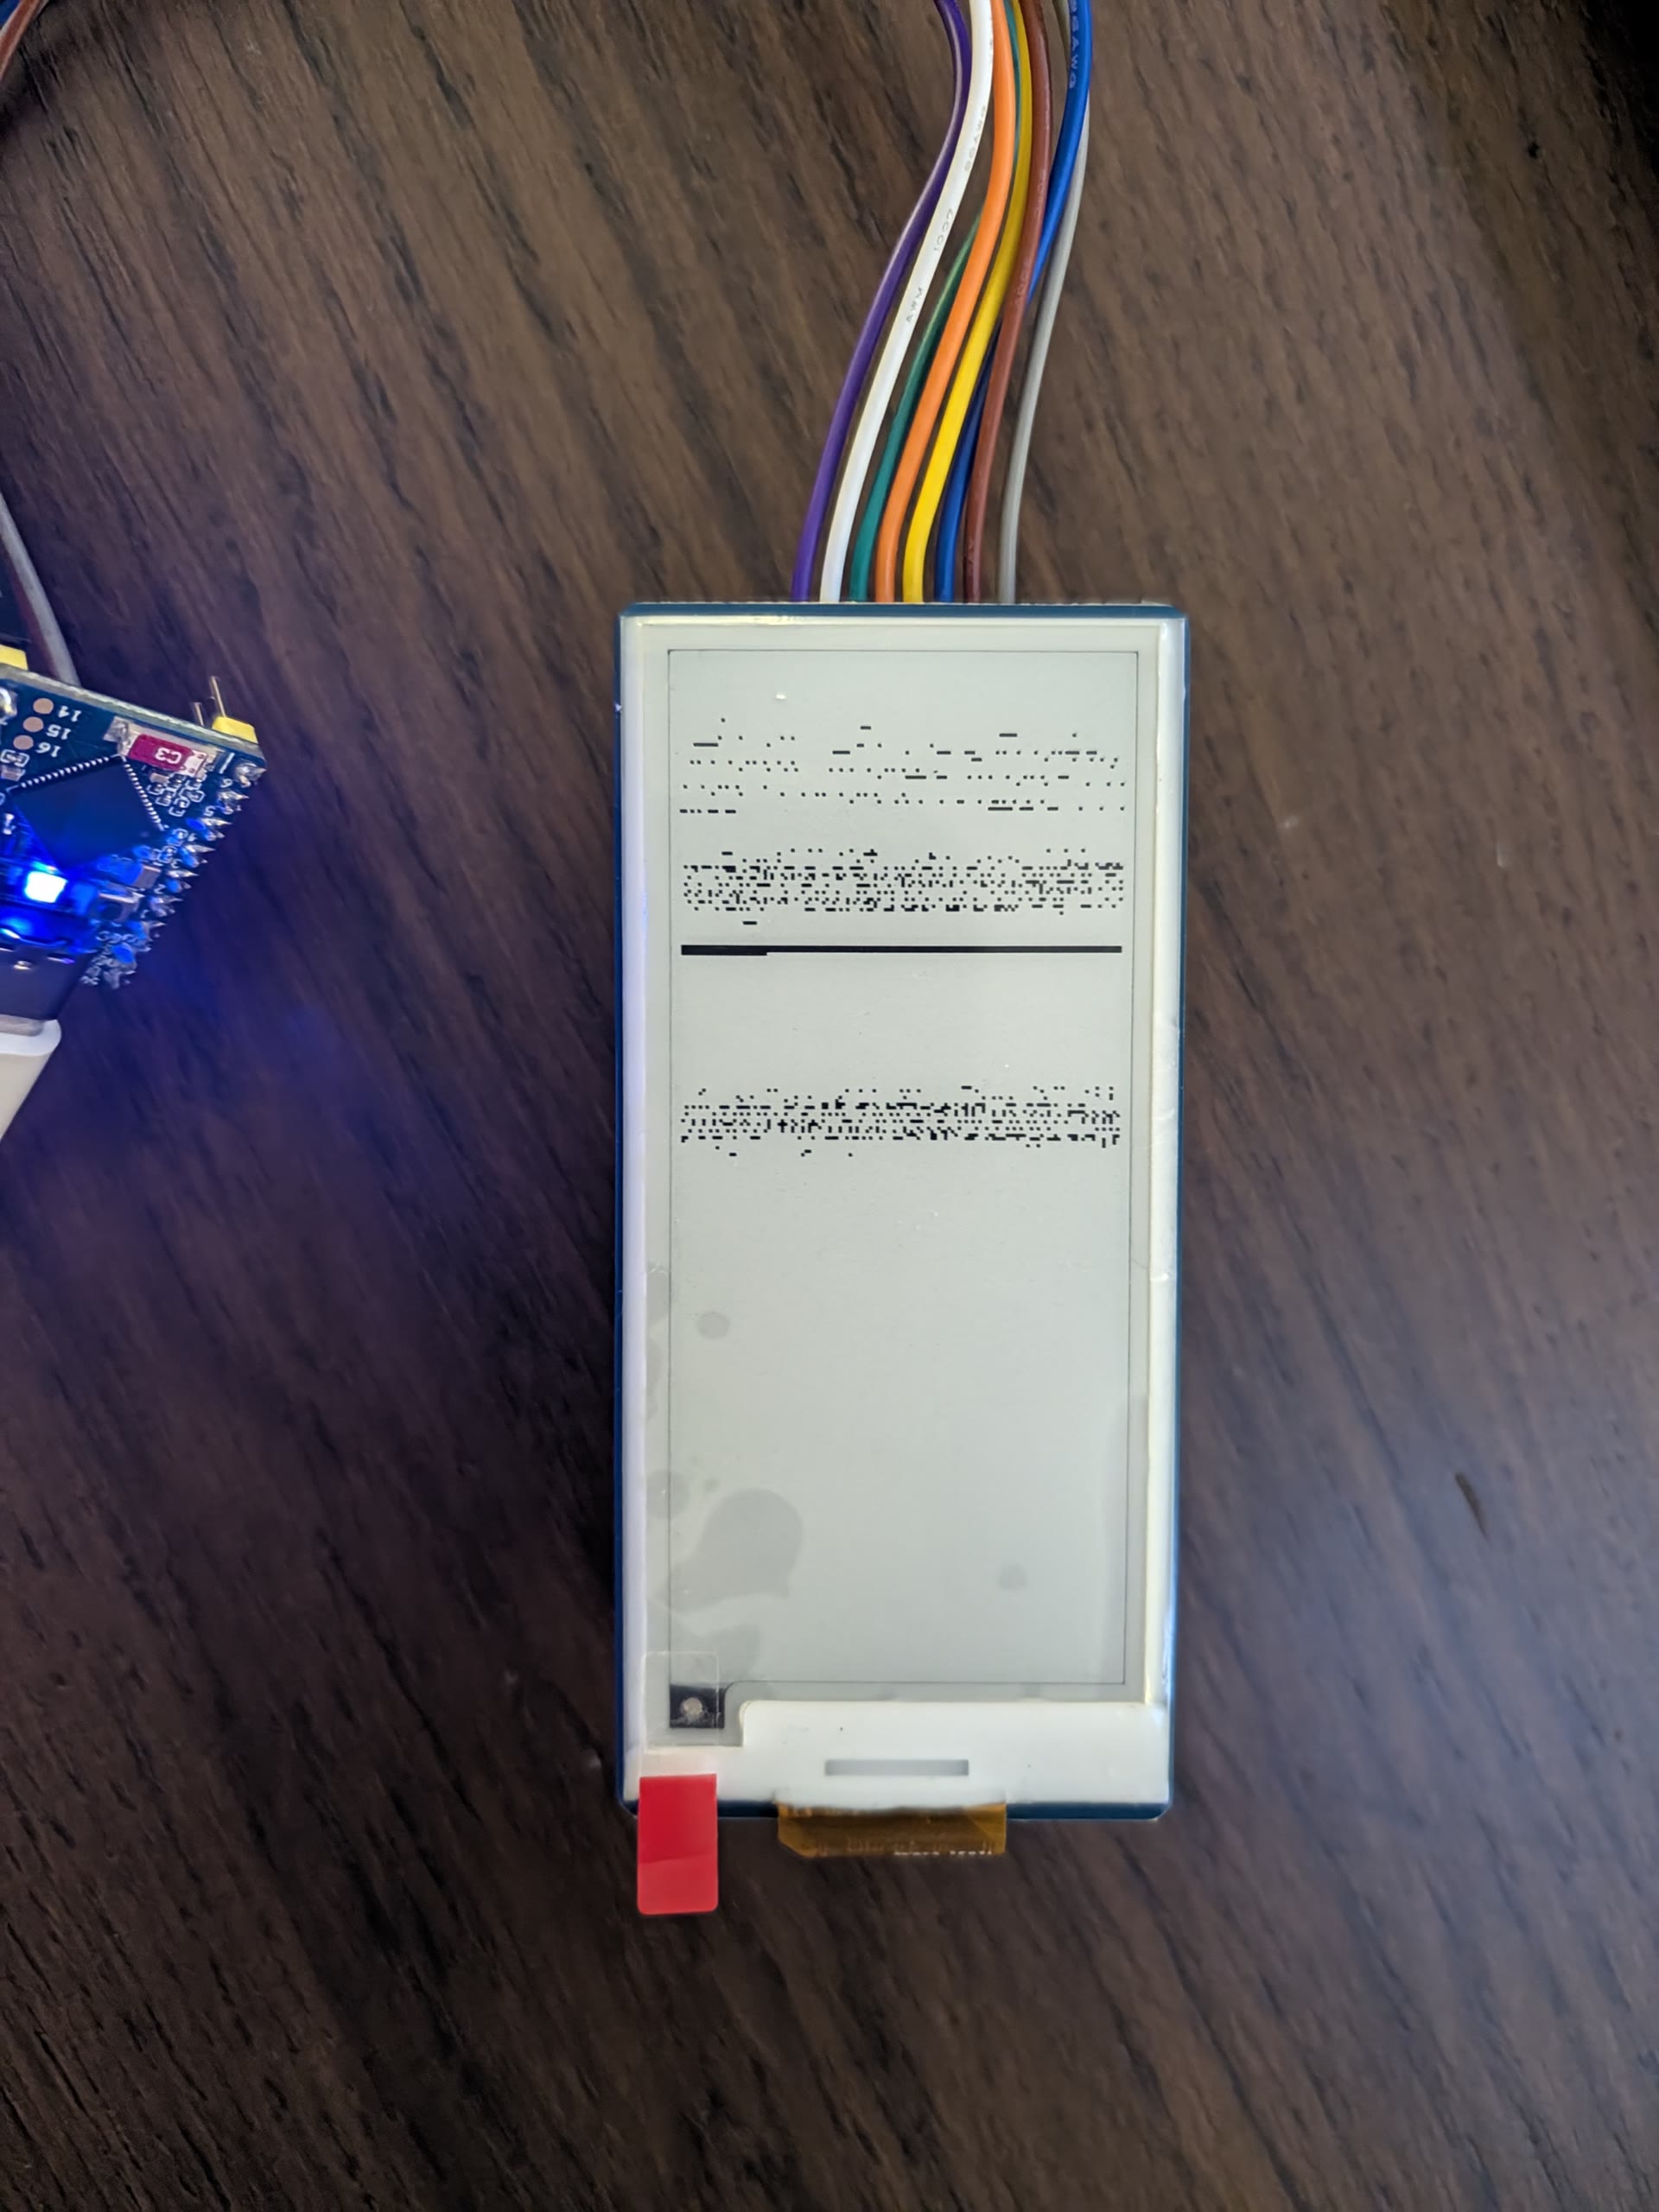
I bought a tiny 2.9-inch black-and-white e-ink screen and a postage-stamp microcontroller, and used Google Antigravity to walk me through wiring the pins together and getting it talking to our Sonos speaker over Wi-Fi. Whenever a song plays, it looks up the songwriters and record label and lays them out in a clean Swiss typographic grid. When the music stops, it turns into a little household screen showing the London weather forecast and custom pixel icons that remind us which Hackney council bins need to go out after 6 PM.
01. The parts: Waveshare 2.9″ Pico-ePaper module and an ESP32-S3-Zero microcontroller.
02. Breadboarding: Wiring the e-ink screen to the tiny microcontroller.
03. First boot glitch: Getting the screen orientation and layout working on the first test.
002. TrashDash
Making the Video Game I Always Wanted to Play
I’ve always wanted to make my own video game, even though I have zero game-programming experience. So over a weekend I modeled all the low-poly 3D apartment blocks, pine trees, airport-hangar garage, garbage trucks, and trash bags in Cinema 4D, and used Google Antigravity to turn my 3D models and game rules into a playable game, first in Godot, and then as a lightweight browser version you can play on your phone or laptop.
You drive a tiny garbage truck around an ever-expanding isometric neighbourhood, picking up trash bags and upgrading your truck at the hangar before the streets overflow. If you survive five neighbourhood expansions, glowing green Toxic Waste starts piling up at double speed.
Two playable versions: The lightweight browser version (~3.9 MB) loads almost instantly on desktop or mobile with an on-screen thumbstick, while the original Godot version (~40 MB) is also live to compare.
003. Rotate Anything
Street View to Multi-Angle Architectural Views
I often need to see what a building looks like from another angle when scouting or designing, so I put together Rotate Anything in Google AI Studio. You give it a single flat photo of a building (or pull one straight from Google Street View) and it generates matching 45° and 135° angled views.
The trick was getting the building to keep its real proportions instead of hallucinating extra floors. So I set it up to first count the floors and windows from the front photo, generate the 45° angle, and then use that new 45° view as the reference to turn the corner all the way to 135°.
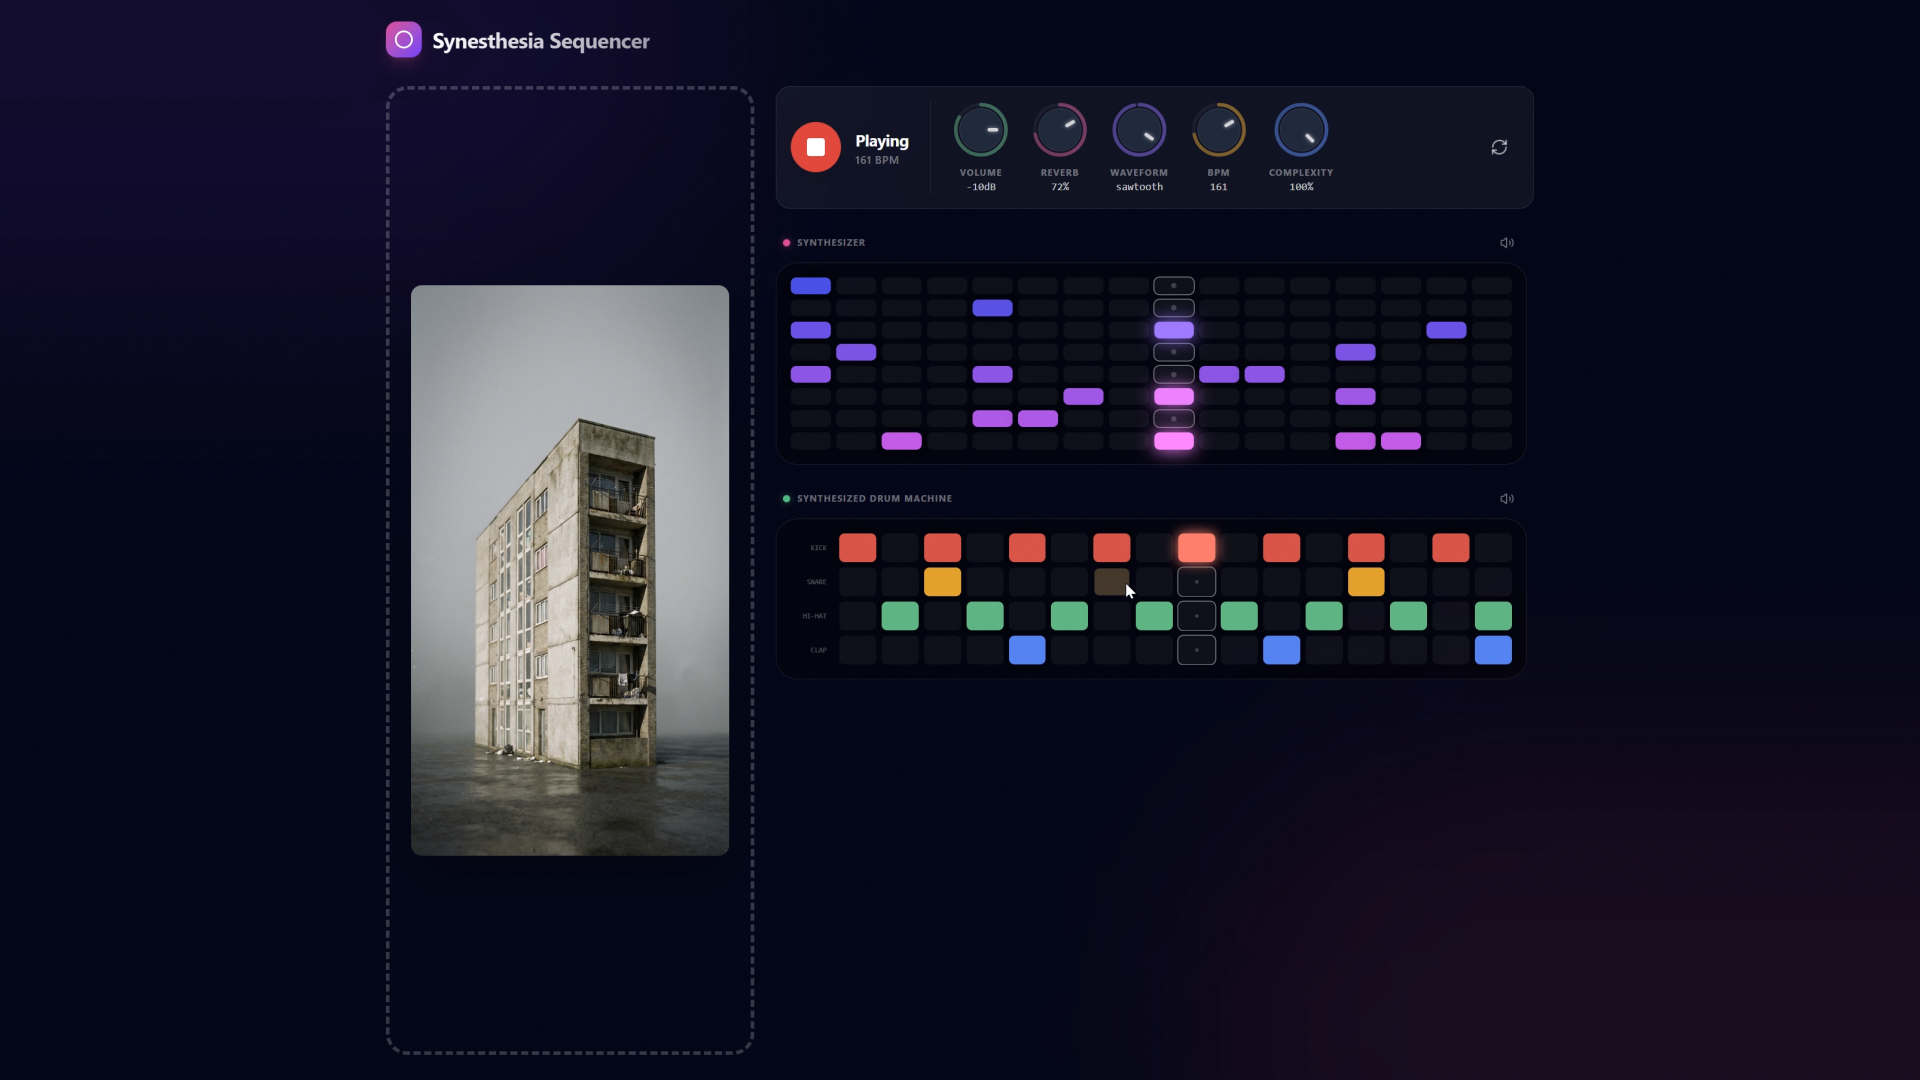
004. Synesthesia Sequencer
Turning Photos into Drum Machines & Synth Loops
I wanted to see what a photograph would sound like if you plugged it into a drum machine. Drop any image into the Synesthesia Sequencer and Gemini looks at the colours, contrast, and mood of the shot to write a live synth melody and 808 drum pattern on the spot: an upbeat groove for a sunny street photo, or something slow and moody for a night shot.
I built the interface in AI Studio so you can play with it like a real instrument: twist the Complexity Knob to make the beat busier or sparser, or click the steps on the grid to tweak the notes yourself.
005. Berlusclock
Kinetic Video Mosaic Clock
Berlusclock started as an absurd idea: what if a clock ticked using 1-second cuts from Silvio Berlusconi’s very first TikTok?
Every second, it cuts between a pool of 1-second “tick” and “tock” clips. The background turns the video into a dark pixelated mosaic, while the big digital numbers and sweeping second hand act like a stencil that reveals the sharp video underneath. Tap anywhere on the clock to freeze the frame.
What if you could wind a four-minute continuous camera zoom forward and backward by hand like a mechanical mutoscope?
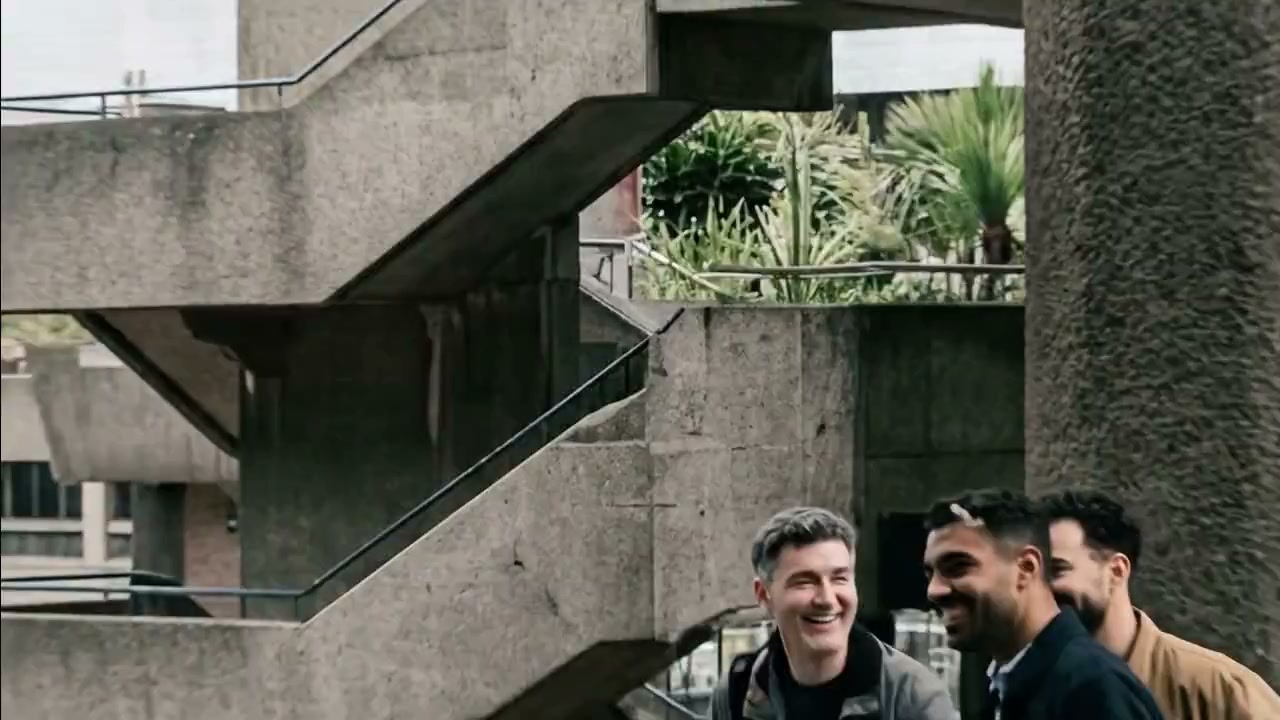
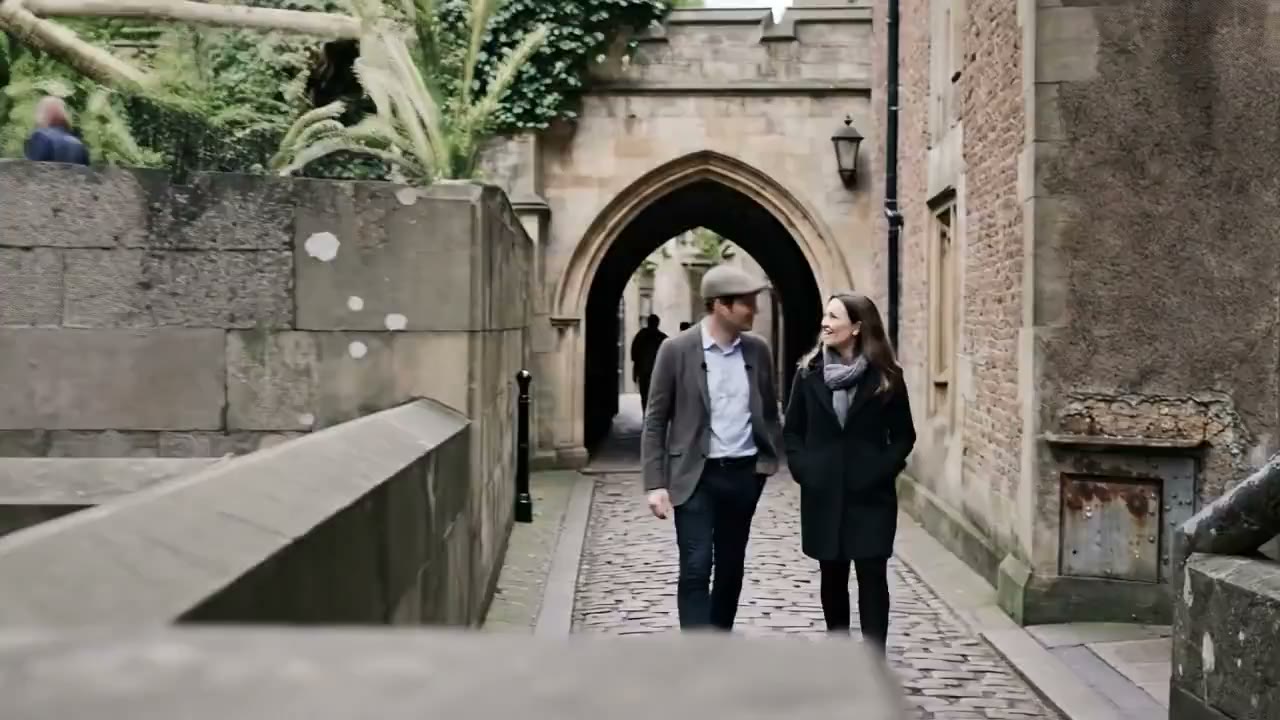
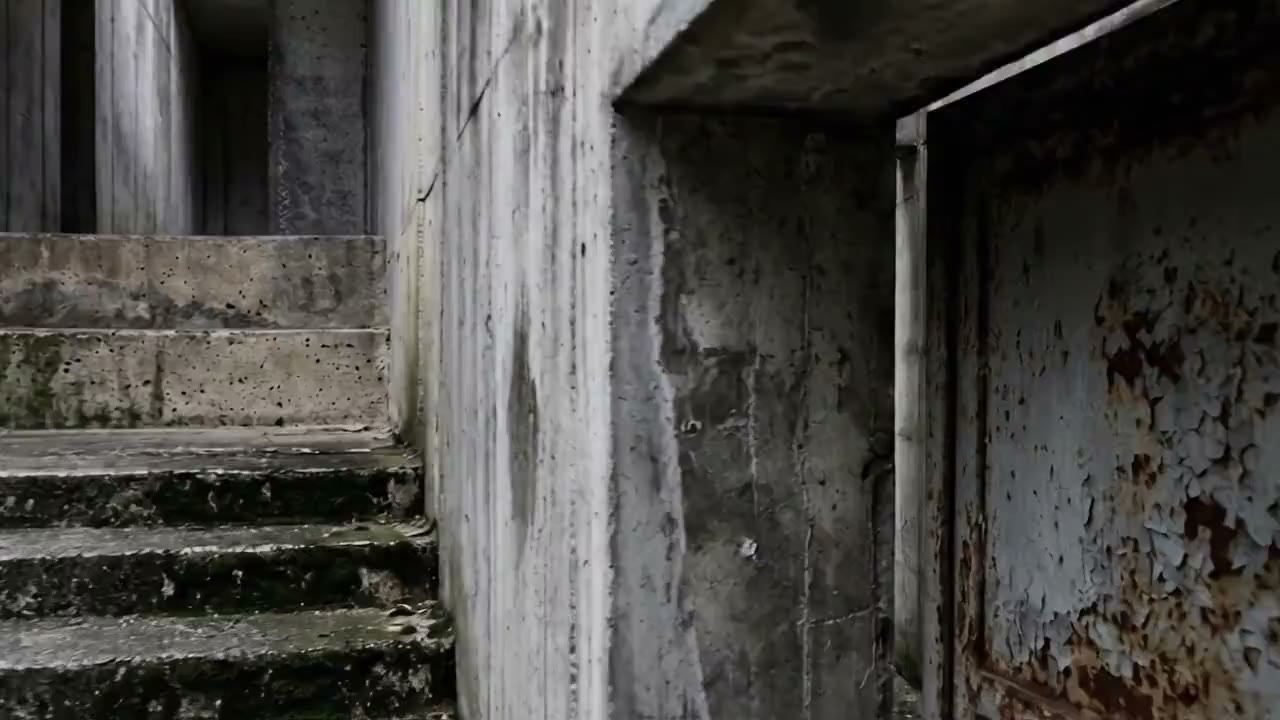
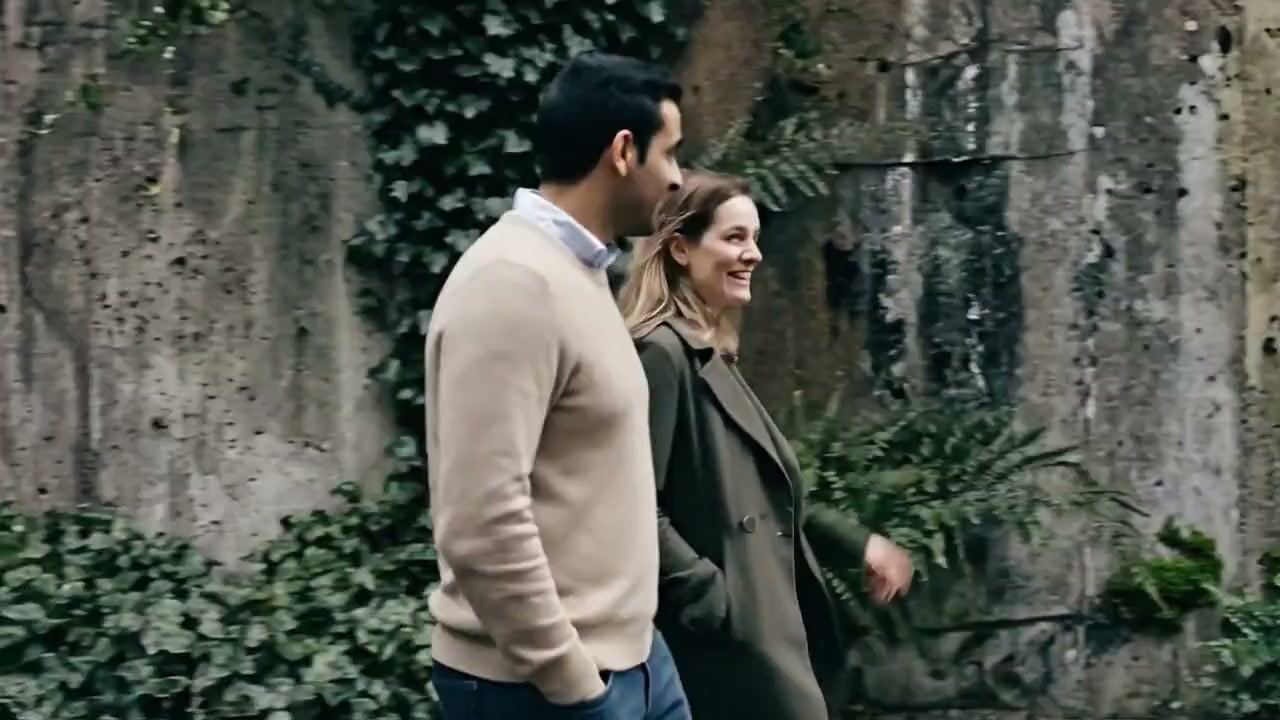
Infinite Zoom is an interactive four-minute continuous zoom set inside the brutalist concrete terraces and conservatory of London’s Barbican Estate. As you wind the handle (or scroll on the web), the camera travels from wide architectural views straight into microscopic pores of concrete and moss, emerging on the other side into a brand-new scene in an unbroken loop.
18-Second Motion Preview
How It Works: Physical Crank Mechanism
I originally imagined this as a physical gallery object: a 3D-printed box with a brass hand crank wired to a Raspberry Pi. Turning the handle clockwise or counter-clockwise winds the film forward and backward in real time, speeding up or slowing down the soundtrack like a vinyl record as you crank.
On the web, your mouse wheel, trackpad scroll, or finger swipe replaces the physical crank.
Interactive Web Installation
Use your scroll wheel, trackpad, or touch drag to wind the zoom forward and backward. Because it loads the full ~60 MB video and audio into memory so you can scrub smoothly in both directions without lag, click Click to Load Interactive Installation below to start, or open it in fullscreen.
Interactive Web Audio & Keyframe Scrubber
Infinite Zoom Installation
Loads ~60 MB of high-frame-density video and synchronized audio so you can wind the zoom smoothly forward and backward. Paused by default to save bandwidth.
Scroll wheel, two-finger trackpad swipe, or touch drag to scrub forward and backward. Click to spin down like a turntable, or press H for Autoplay & Mute.
Launch Fullscreen Installation (~60 MB) ↗
Multi-Scale Visual Journey
Across 6,011 frames (4 minutes 10 seconds at 24fps), the lens transitions seamlessly between human-scale street portraits, raw board-formed concrete brutalism, microscopic lichen ecosystems, and back out to another conversation on the terrace.
How I Put It Together
Normally, if you try to scrub a web video backward quickly, it stutters and the audio goes silent. I didn’t know how to code a custom video player from scratch, so I used Google Antigravity to help me solve the two things that mattered most for the feeling of the piece: making the four-minute zoom scrub smoothly forward and backward with inertia (so it glides to a stop like a heavy flywheel, or brakes like a turntable when you click), and making the soundtrack play both forward and in reverse as you wind.
Role: Concept, Visual Direction, 3D-Printed Crank Enclosure & AI Workflow.
More Interactive Micro-Cinema & Spatial Experiments
Explore the companion interactive canvases built alongside Infinite Zoom:
London Morning Micro Cinema 100 synchronized AI video loops hidden inside a 128,000 × 72,000 px illustration.
England 4 – 2 Croatia: World Cup Celebration Interactive crowd micro-cinema built the night England beat Croatia 4–2, with Gemini writing scripts of fans commenting on the match.
New plants to identify. New care tips to learn. New ways to search in the new Google app. On this project I worked with Creative Lab London and NY to develop the visual style, figure out the technical pipeline so we could deliver on a very tight schedule, and animate the spots hands-on.